

Prerequisites
- Account at app.trunk.io
- Ability to modify repository CI configuration and add secrets
- Tests running in CI on both PRs and stable branches (e.g., main, master, or develop)
Step 1: Create a test collection
A test collection is a named group of tests with its own flake detection, quarantining, and ticketing settings. CI uploads go to a collection, so create one first.- Open Flaky Tests at app.trunk.io. Your first collection is created from the form Flaky Tests opens on; later ones from Create collection in the actions menu on the collections list.
- Enter a Collection name, and a description if you want one.
- Copy the new collection’s Collection ID, from its page header or URL. You pass it to every upload step in Step 3.
Step 2: Ensure JUnit XML output
Trunk ingests test results in JUnit XML format. If your CI already generates JUnit XML, note the file paths and skip to Step 3. If not, configure your test frameworks to output JUnit XML:- See Test Frameworks for framework-specific configuration
- Supports multiple frameworks simultaneously
Step 3: Configure CI uploads
Add test result uploads to all CI jobs that run tests. Every upload step passes the Collection ID from Step 1, as--test-collection-id or the TRUNK_TEST_COLLECTION_ID environment variable.
- See CI Providers for integration instructions
- Configure uploads in jobs that run on:
- Pull request branches
- Stable branches (
main,master,develop, etc.) - Merge queue branches (if applicable)
Trunk automatically recognizes
main, master, and develop as stable branches. If your primary branch uses a different name, configure uploads from that branch the same way and Trunk will classify it correctly.Step 4: Verify integration
- Push your changes and trigger a CI run
- Check CI logs for successful upload confirmation
- Results typically appear within a few minutes. Verify uploads appear at app.trunk.io on your test collection’s Uploads tab
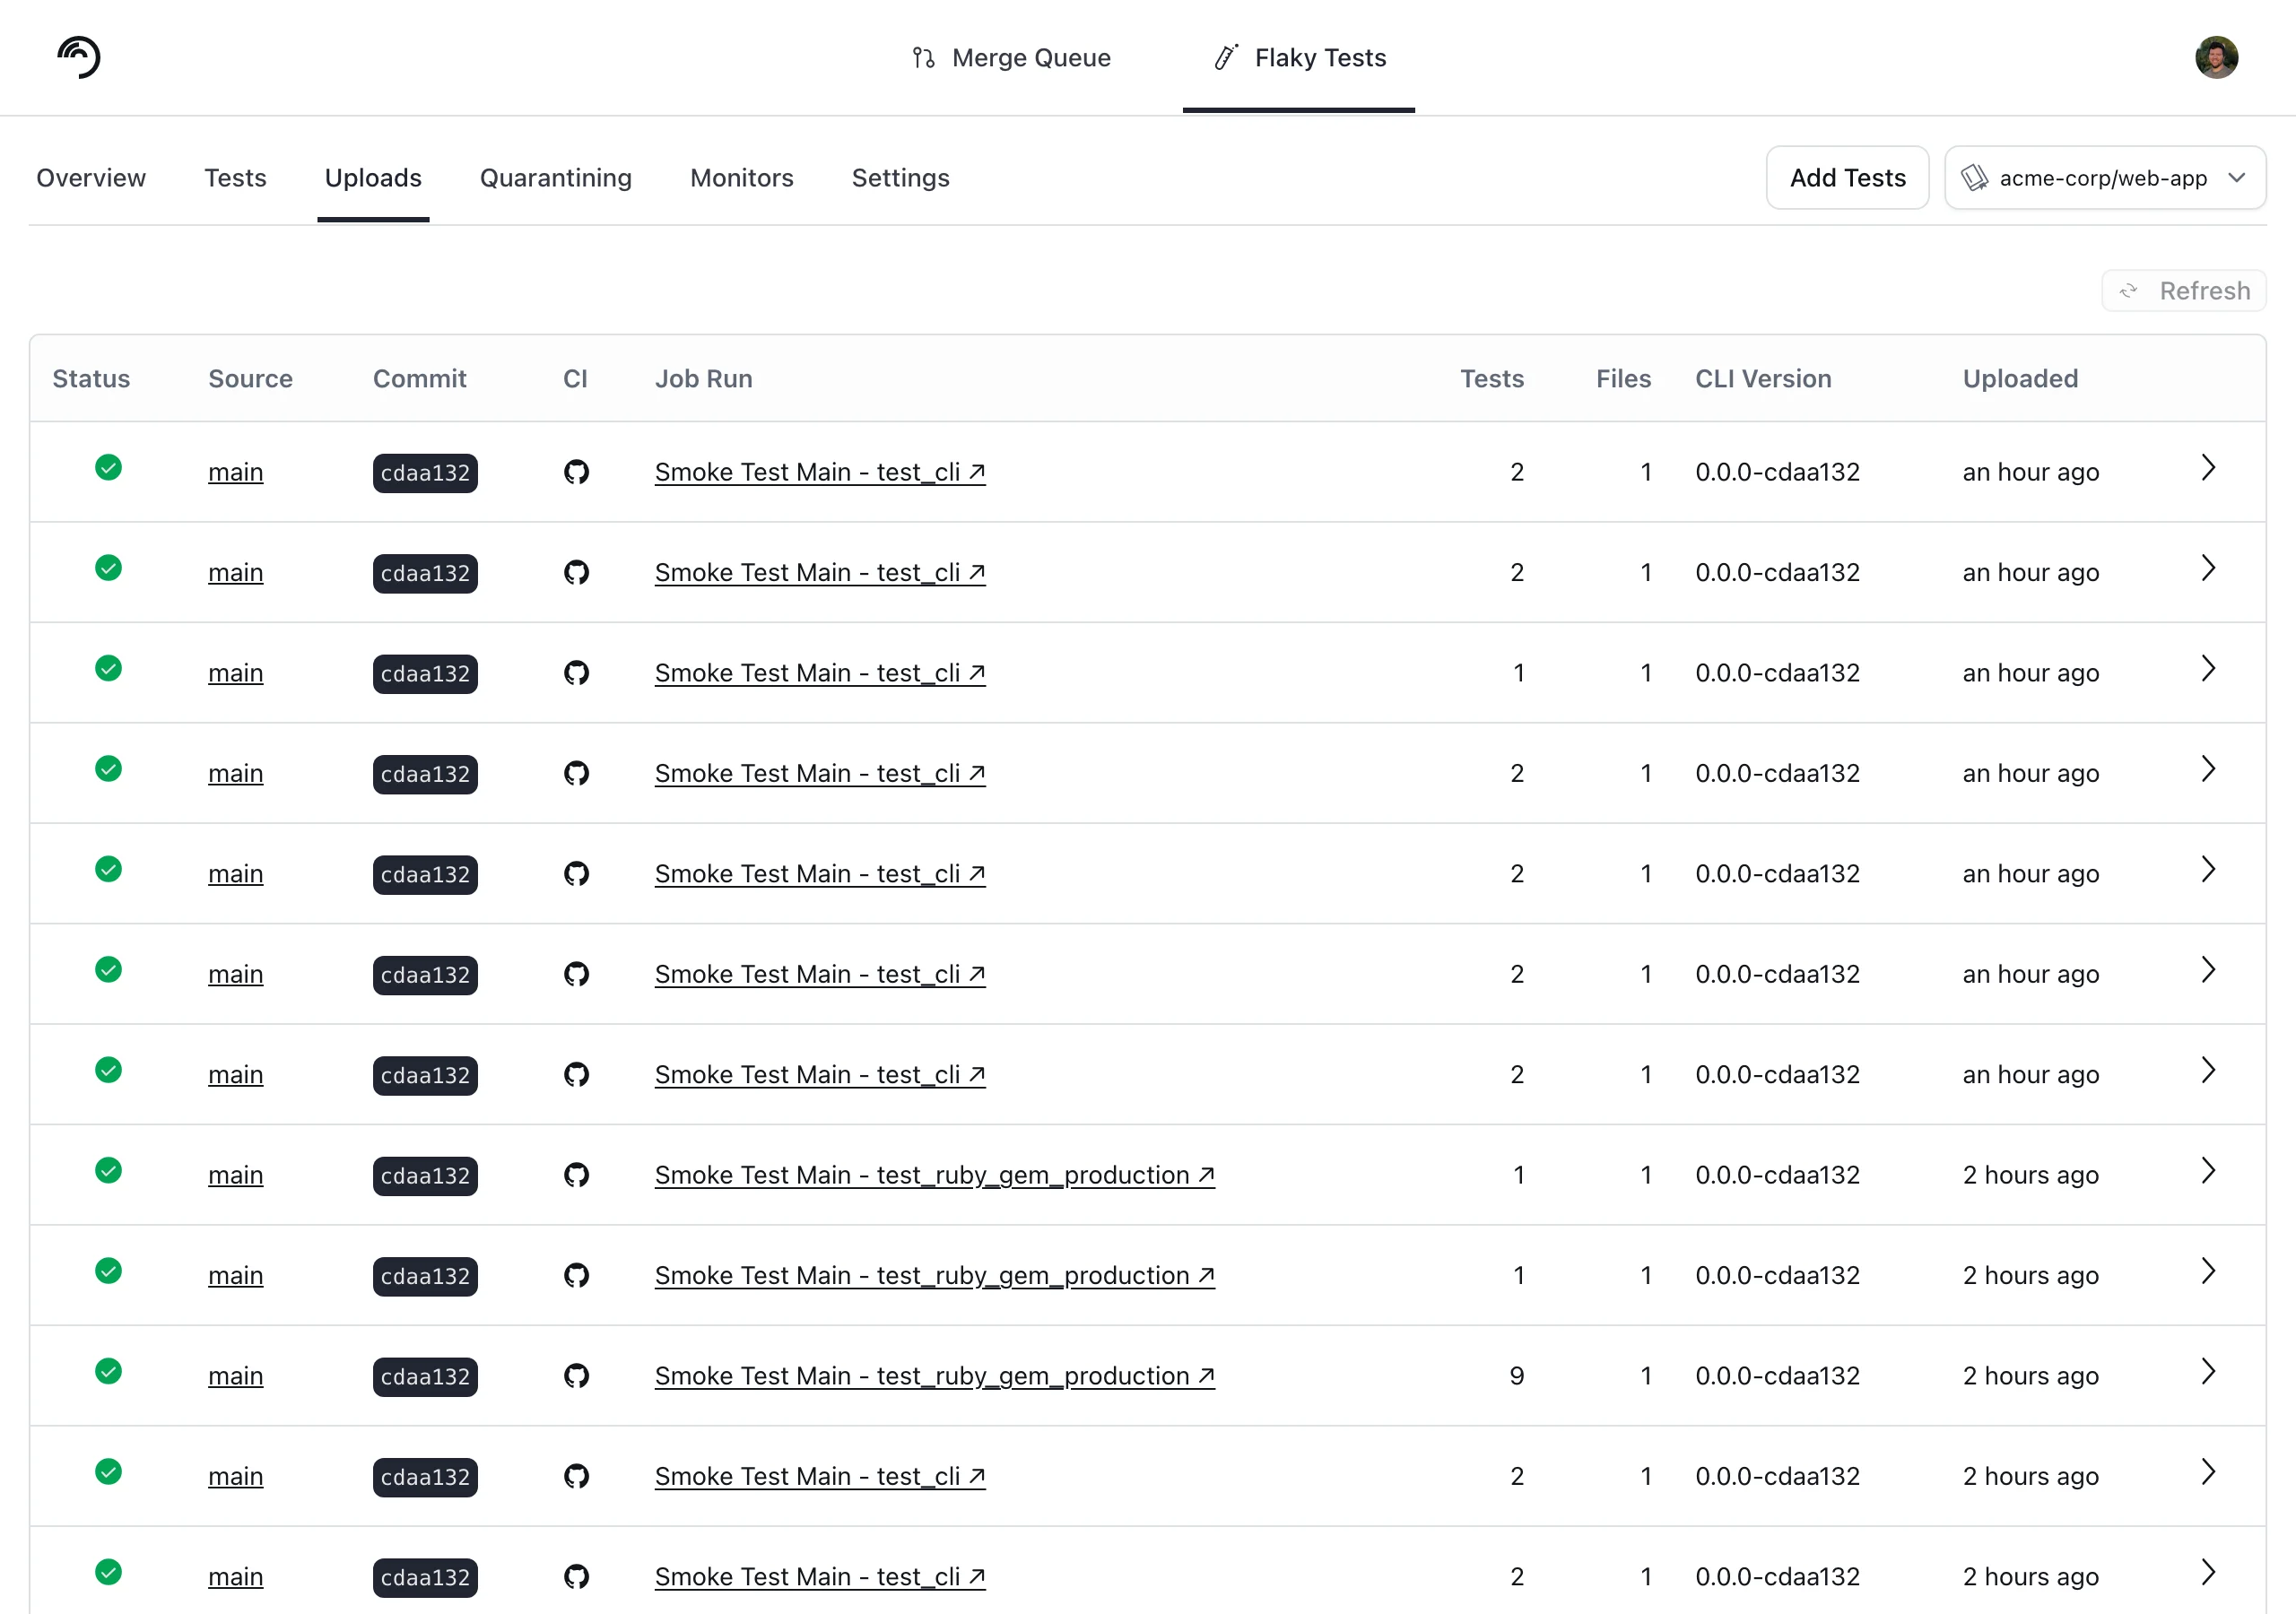
Uploads tab
Step 5: Configure flake detection
After uploads are flowing, open your test collection’s Monitors tab to set up detection. A collection arrives with five monitors already seeded, including pass-on-retry, failure count, and failure rate. Your job here is to check them against how you actually run tests — the seeded branch patterns in particular are defaults, not a reading of your repository. Failure rate monitors let you detect flakiness based on failure rate over a rolling time window. How you configure them depends on your CI setup:- If tests must pass before merging to main, set up a failure rate monitor scoped to
mainto catch an elevated failure rate. For example, if you run tests 5 times per day onmain, a 24-hour rolling window with a minimum of 4 runs and a failure threshold of 25% is a reasonable starting point. This gives the monitor enough data before flagging anything. - If you use a merge queue, consider a dedicated monitor scoped to your merge queue branches (e.g.,
trunk-merge/*orgh-readonly-queue/*). Failures here are especially suspicious since the code has already passed PR checks, so a low threshold is appropriate.