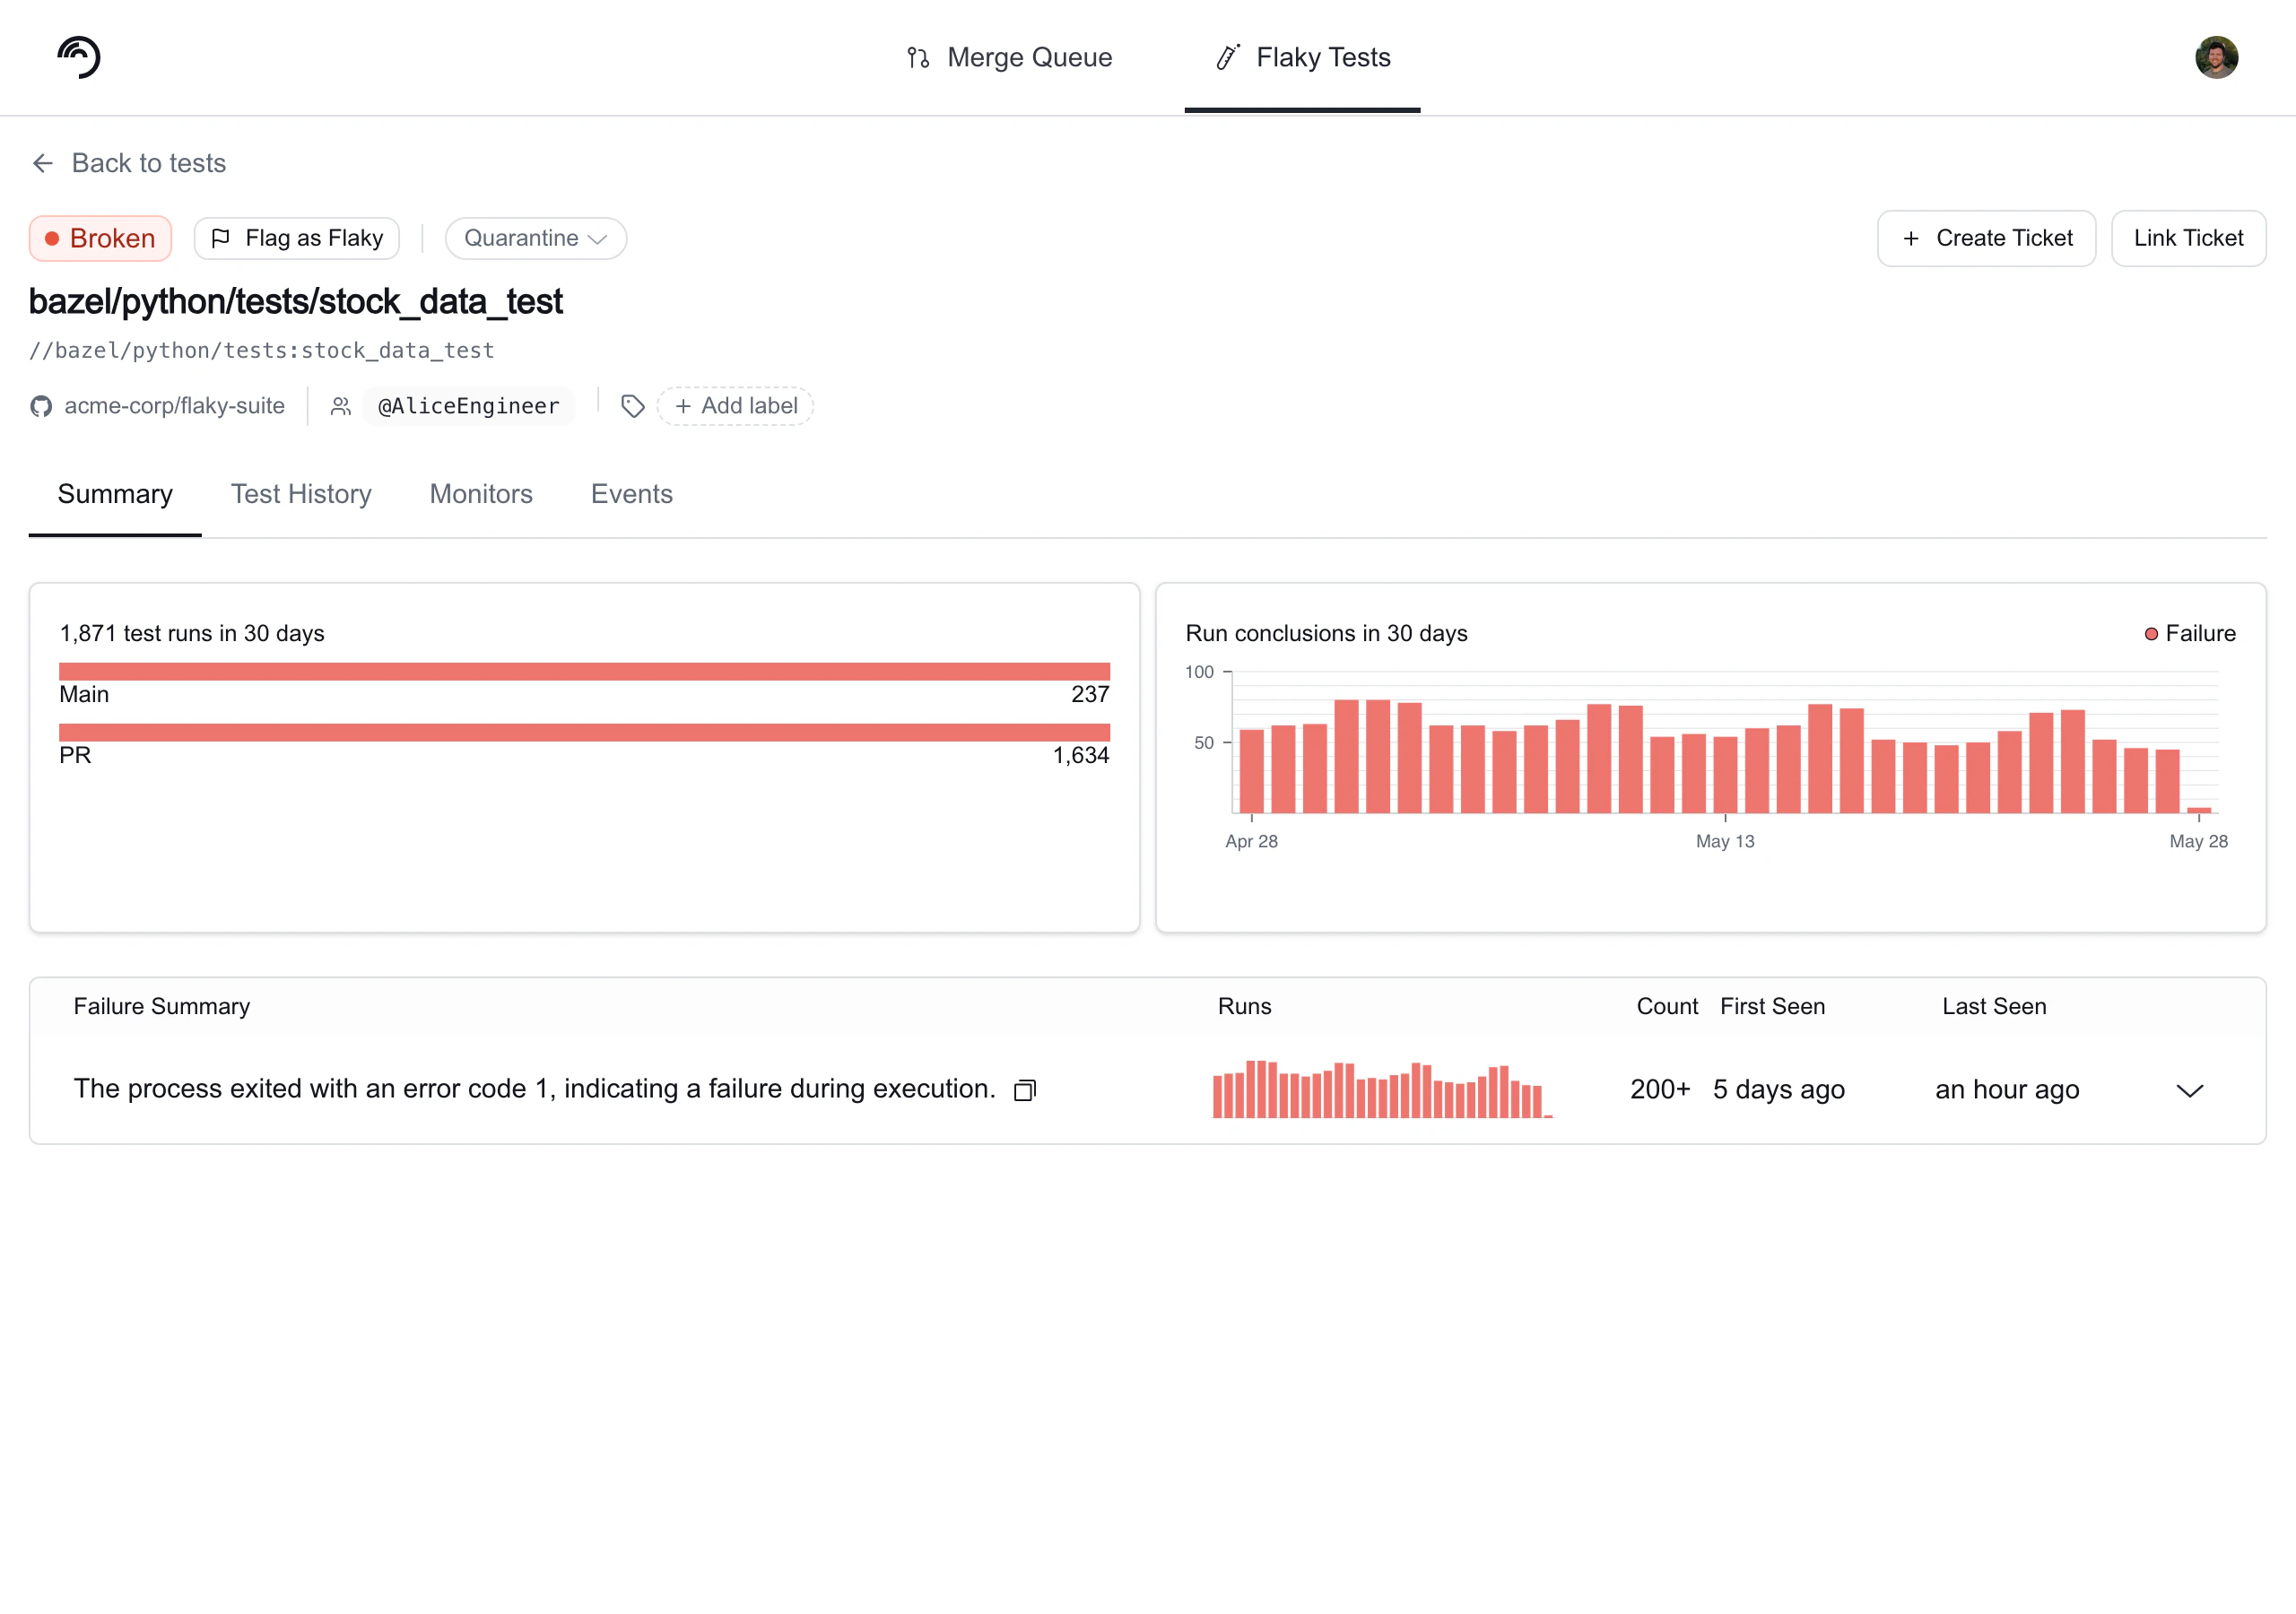
Broken tests are not quarantine candidates. Quarantining is designed for flaky tests — tests that intermittently fail and can be safely skipped to unblock CI while being investigated. A broken test represents a real failure that should not be hidden from CI results. Only tests with a Flaky status are eligible for auto-quarantine.
What does “Quarantined” mean?
A quarantined test continues running in CI and uploading results to Trunk Flaky Tests, but its failures won’t block your pipeline. The Trunk Analytics CLI checks with Trunk’s backend to determine if failed tests are quarantined, then overrides the exit code for those failures. When all failures in a CI job come from quarantined tests, the entire job passes. Why this matters: You maintain complete test coverage and historical data while preventing known problematic tests from disrupting your development cycle.
The same failing test blocks the PR without quarantine (exit code 1); quarantined, its failure is ignored and the PR merges (exit code 0).
How tests get quarantined
Tests can be quarantined through two methods:- Manual Quarantine - You explicitly select specific tests using override settings
- Auto-Quarantine (when enabled) - Tests already flagged by Trunk’s flaky detection are automatically quarantined
Enable quarantining
Toggling the Enable Test Quarantining switch makes quarantining possible but does not quarantine any tests on its own.A test failure will only be ignored by CI if the test is already manually quarantined, or if the test has previously been identified as flaky and the Auto-Quarantine option is enabled.Actively quarantining tests will significantly change CI results, as failures from quarantined tests no longer cause builds to fail. Learn more about the effects of quarantining.
Quarantining settings
To enable quarantining, navigate to Settings → Repositories → [repository] → Flaky Tests → toggle Enable Test Quarantining on.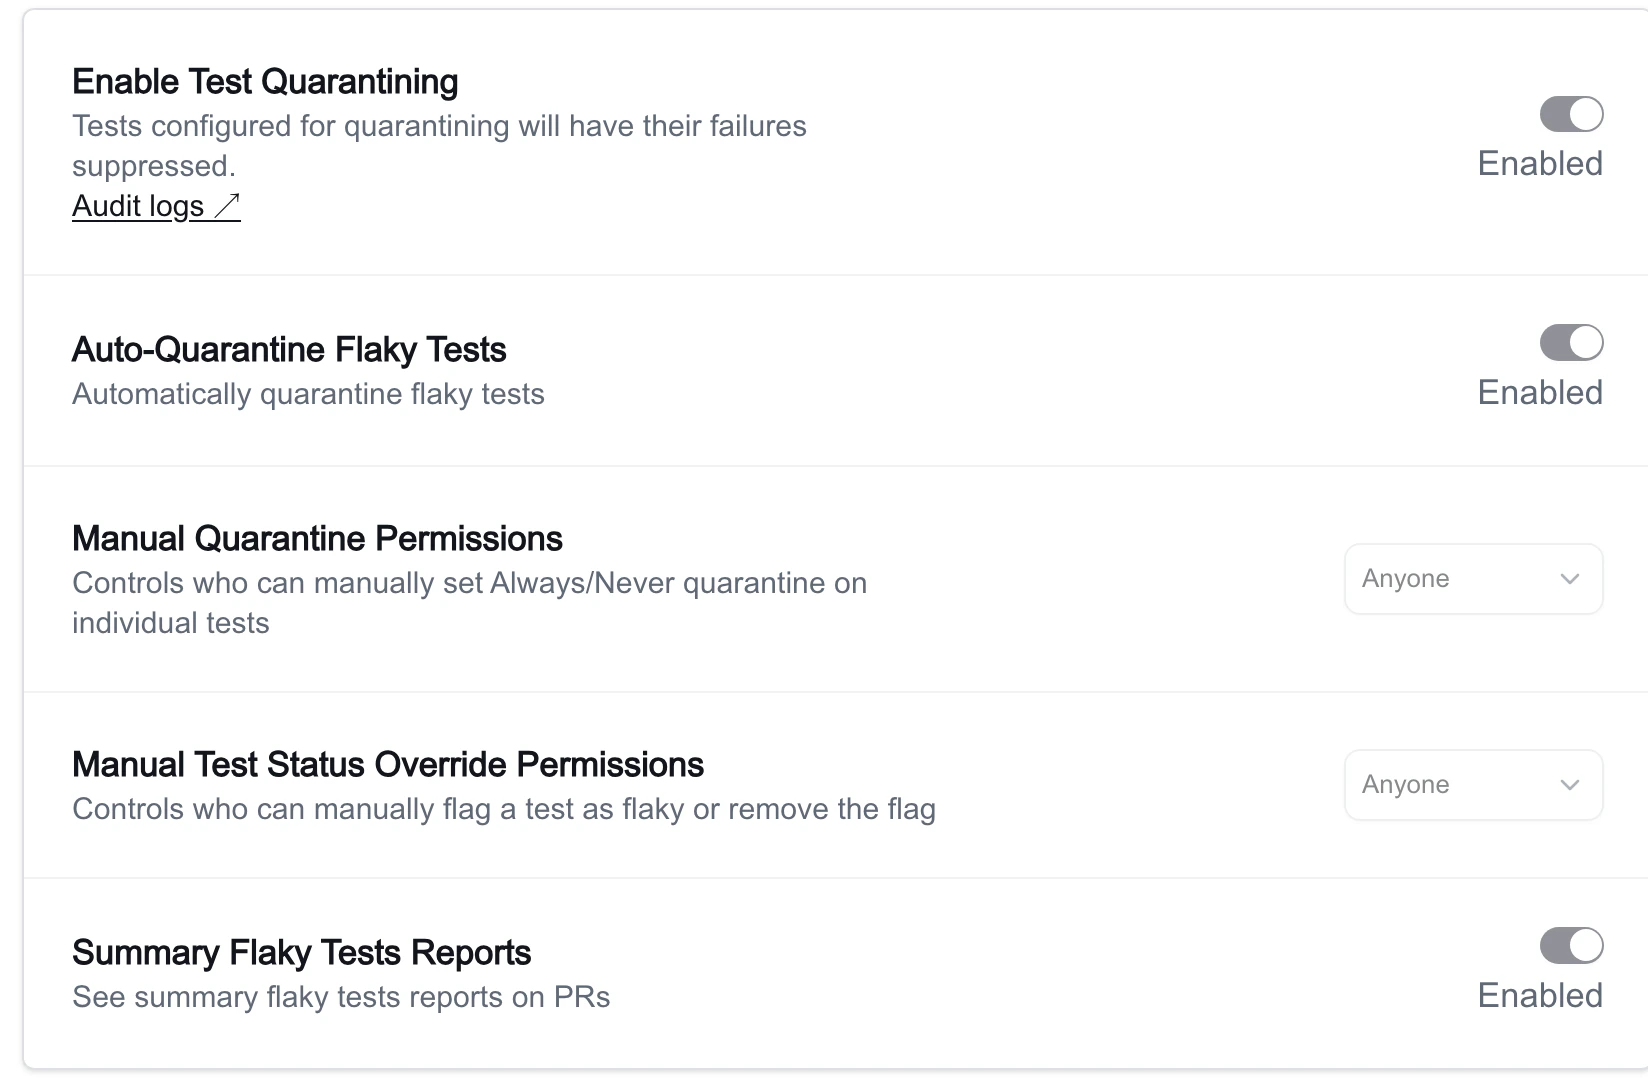
Collection-level quarantining settings
Test Collections have their own quarantining settings that override the repository-level settings for any uploads routed to that collection. This lets you apply different quarantining policies to different subsets of your test suite. To configure collection quarantining, navigate to Flaky Tests → Collections → [collection name] → Settings → Quarantining. The same two toggles are available at the collection level:Only organization admins can change collection quarantining settings. Members can view the settings page but cannot toggle the controls.
New test collections have quarantining enabled by default. You can disable it from the collection’s Settings page at any time. Auto-Quarantine remains off by default and must be turned on separately.
Quarantining with Sharded or Parallelized Tests
There are two options for handling quarantining. Option 1: Wrapping each test invocation Wrap each command and specify its JUnit output path. Trunk captures the exit code and automatically uploads results. Example0 or 1 based on the outcomes.
Advanced: Handling build errors outside test runs
To handle build issues that occur outside test runs, use the —test-process-exit-code option. This provides a fallback exit code if the upload runs without detecting any JUnit results.
Example
- Upload results for each test execution separately, or
- Generate a JUnit that records build errors.
Updates in CI
If you’re using the provided GitHub Actions workflow to upload test results to Flaky Tests, you can quarantine flaky tests by wrapping the test command or as a follow-up step. If you’re using the Trunk Analytics CLI directly or other CI providers, check the instructions in the Using The Trunk Analytics CLI Directly tab.- GitHub Actions Workflow
- Using The Trunk Analytics CLI Directly
Using the Trunk Analytics Uploader Action in your GitHub Actions Workflow files may need modifications to your workflow files to support quarantining.If you upload your test results as a second step after you run your tests, you need to add If you want to run the test command and upload in a single step, the test command must be run via the Analytics Uploader through the
continue-on-error: true on your test step so your CI job will continue even on failures.Here’s an example file.run: <COMMAND TO RUN TESTS> parameter.This will override the response code of the test command. Make sure to set continue-on-error: false so un-quarantined tests are blocking.Overriding individual tests
If you have tests that should never be quarantined or should always be quarantined regardless of their current health status, you can do this by overriding individual tests.
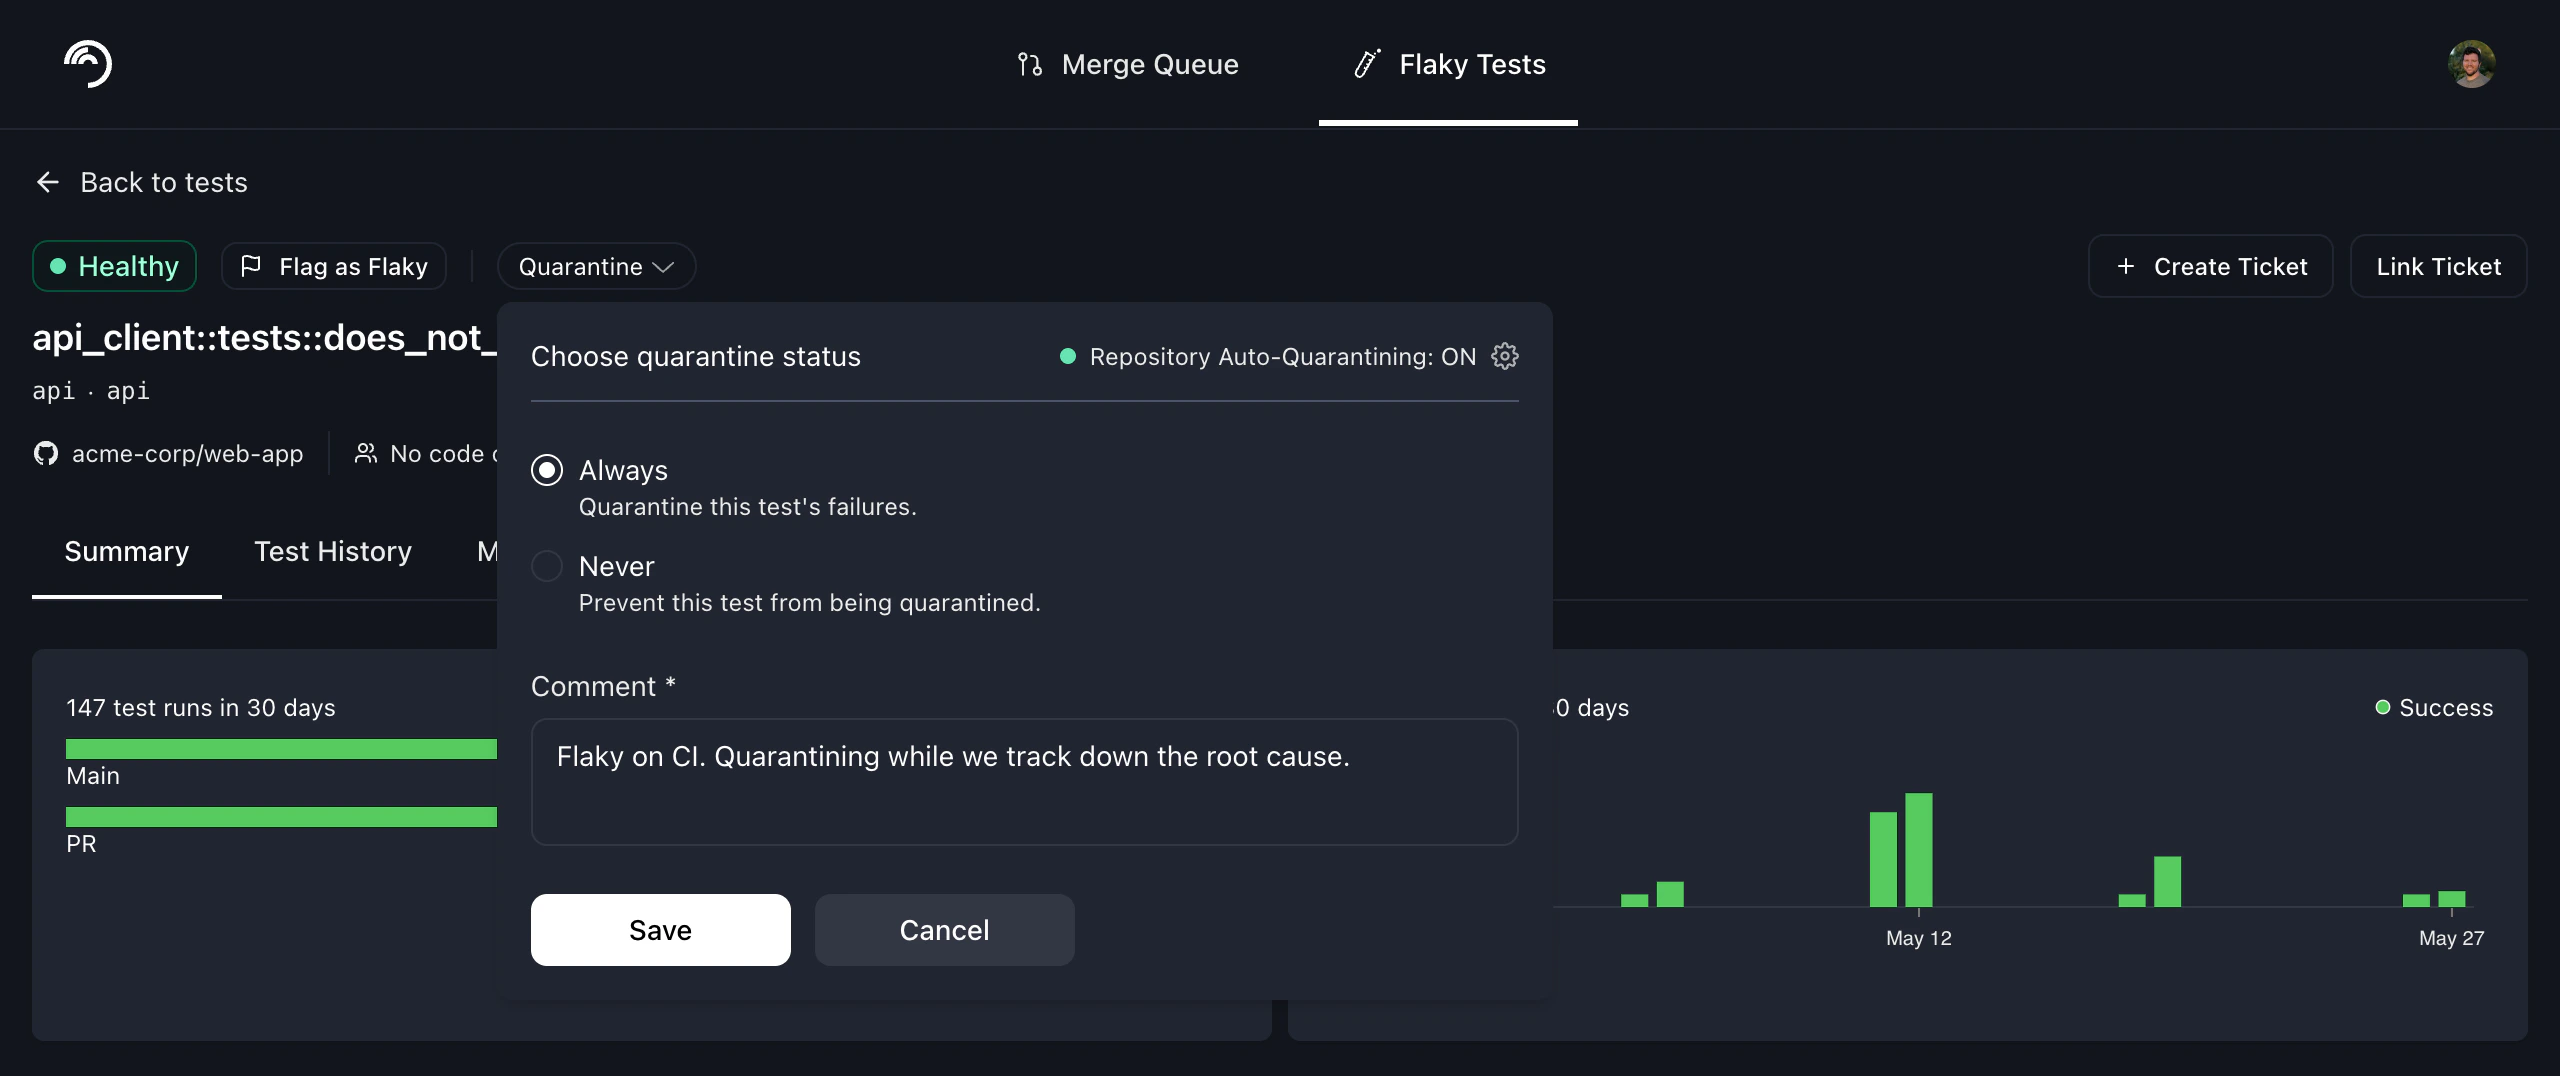
The Choose quarantine status control on a test's details page, set to Always.
- Quarantine test / Unquarantine test: toggles the always-quarantine override for that test.
- Never Quarantine test / Remove Never Quarantine: toggles the never-quarantine override. When set, the test is never quarantined, even if auto-quarantining is enabled for the repo.
Tracking quarantined jobs in the dashboard
Once quarantining is active, the Quarantining tab provides a central hub for monitoring its impact and effectiveness. This tab serves as a complete audit log of every CI job saved by the feature, allowing you to:- Visualize Trends: A 30-day chart shows the number of jobs quarantined per day.
- Inspect Individual Jobs: A detailed table lists every quarantined job. Click any entry to see the specific tests that were quarantined.
- Isolate Critical Workflows: Use the filter to see how quarantining impacts specific branches, such as preventing flaky failures in your Merge Queue.
- Measure ROI: Use the data to quantify the number of builds saved and developer time reclaimed for your organization.
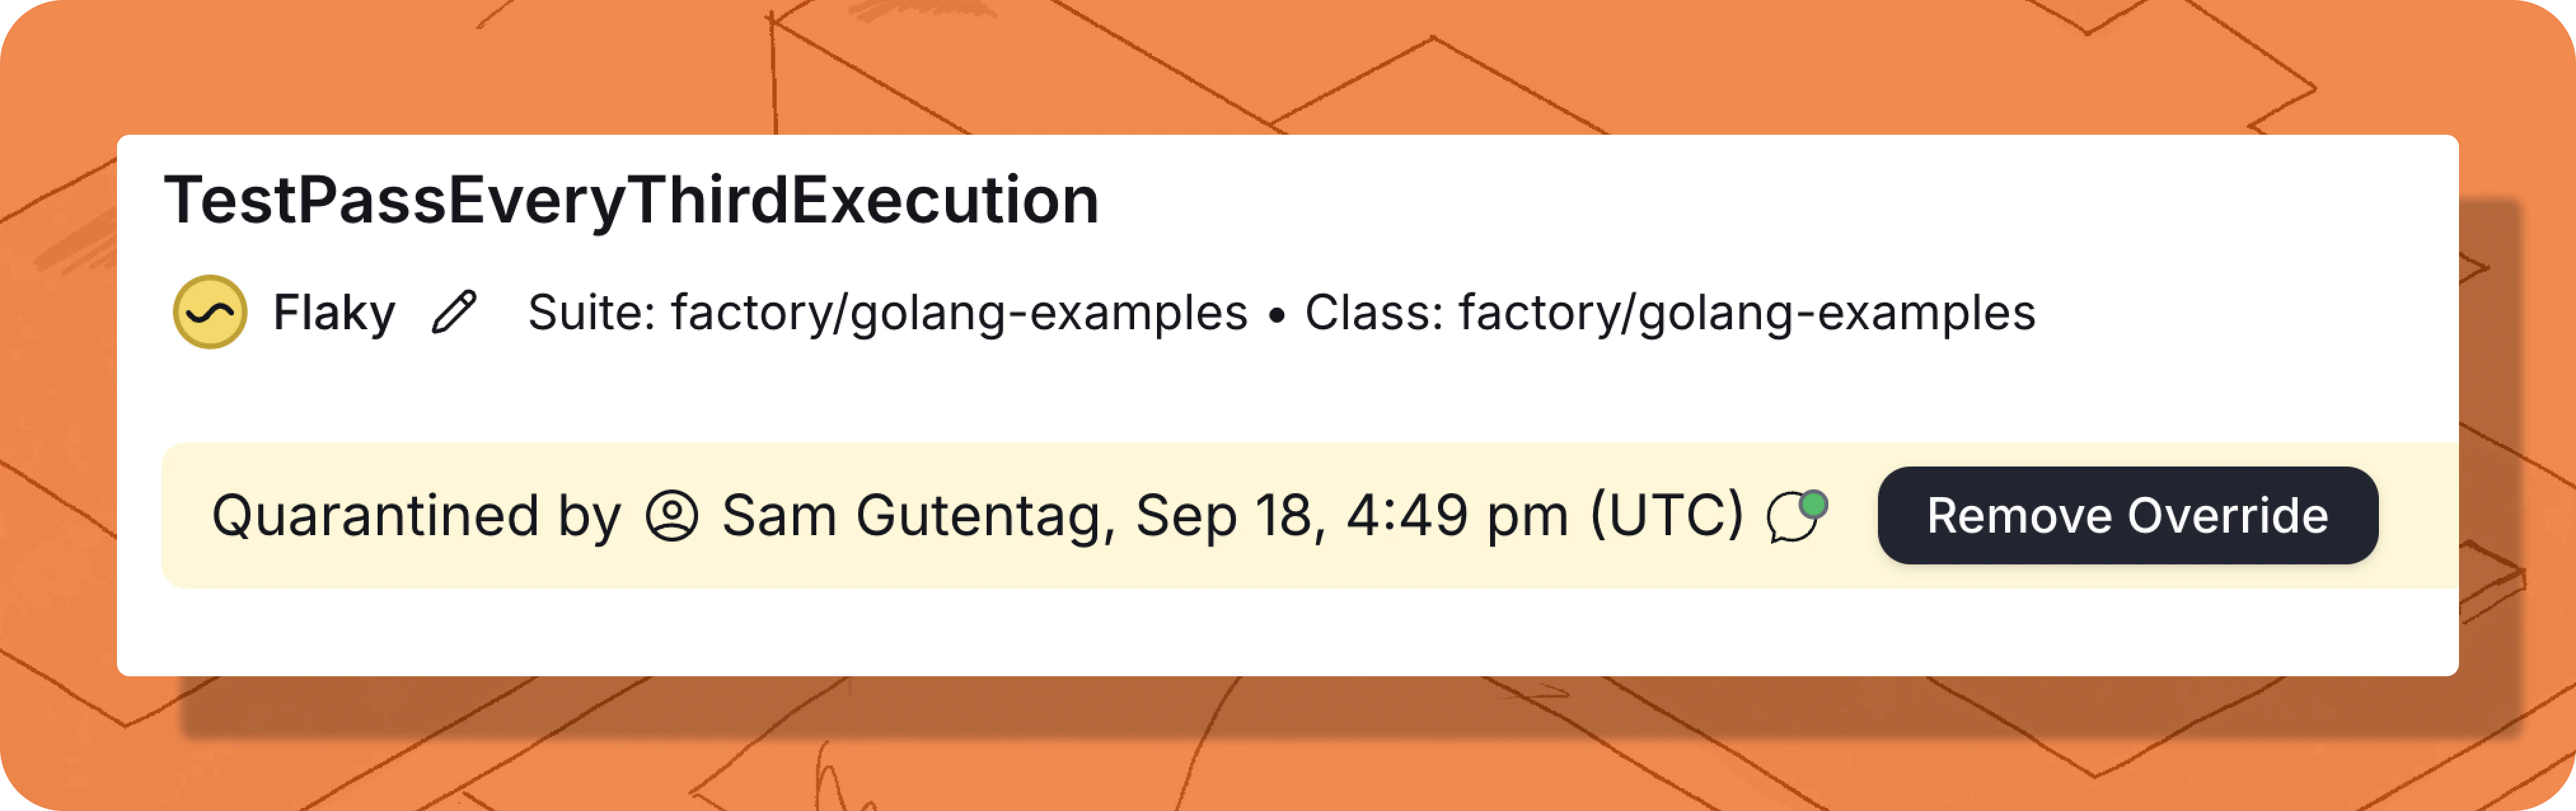
Audit logs
Trunk provides audit logs for all setting changes and overwrites for individual tests. You can access the audit log by navigating to Settings → Repositories → [repository] → Flaky Tests → Audit logs under the Enable Test Quarantining heading.
Quarantining API and webhooks
For advanced use cases, you can interact with quarantining features programmatically.- API: Use the Flaky Tests API to fetch a list of all currently quarantined tests in your project.
- Webhooks: Subscribe to the
test_case.quarantining_setting_changedevent to trigger automated workflows whenever a test’s quarantine override is modified. Learn more about Webhooks.