

Connecting to Asana
To connect an Asana project:- In the Trunk app, navigate to Settings → Organization → Ticketing. (On a repository, use Settings → Repositories → [your repository] → Ticketing instead.)
- Click Connect on the Asana row.
- Add an Asana personal access token and click Connect.
- In the Configuration section that appears, select a Workspace, then select a Project, and click Update.
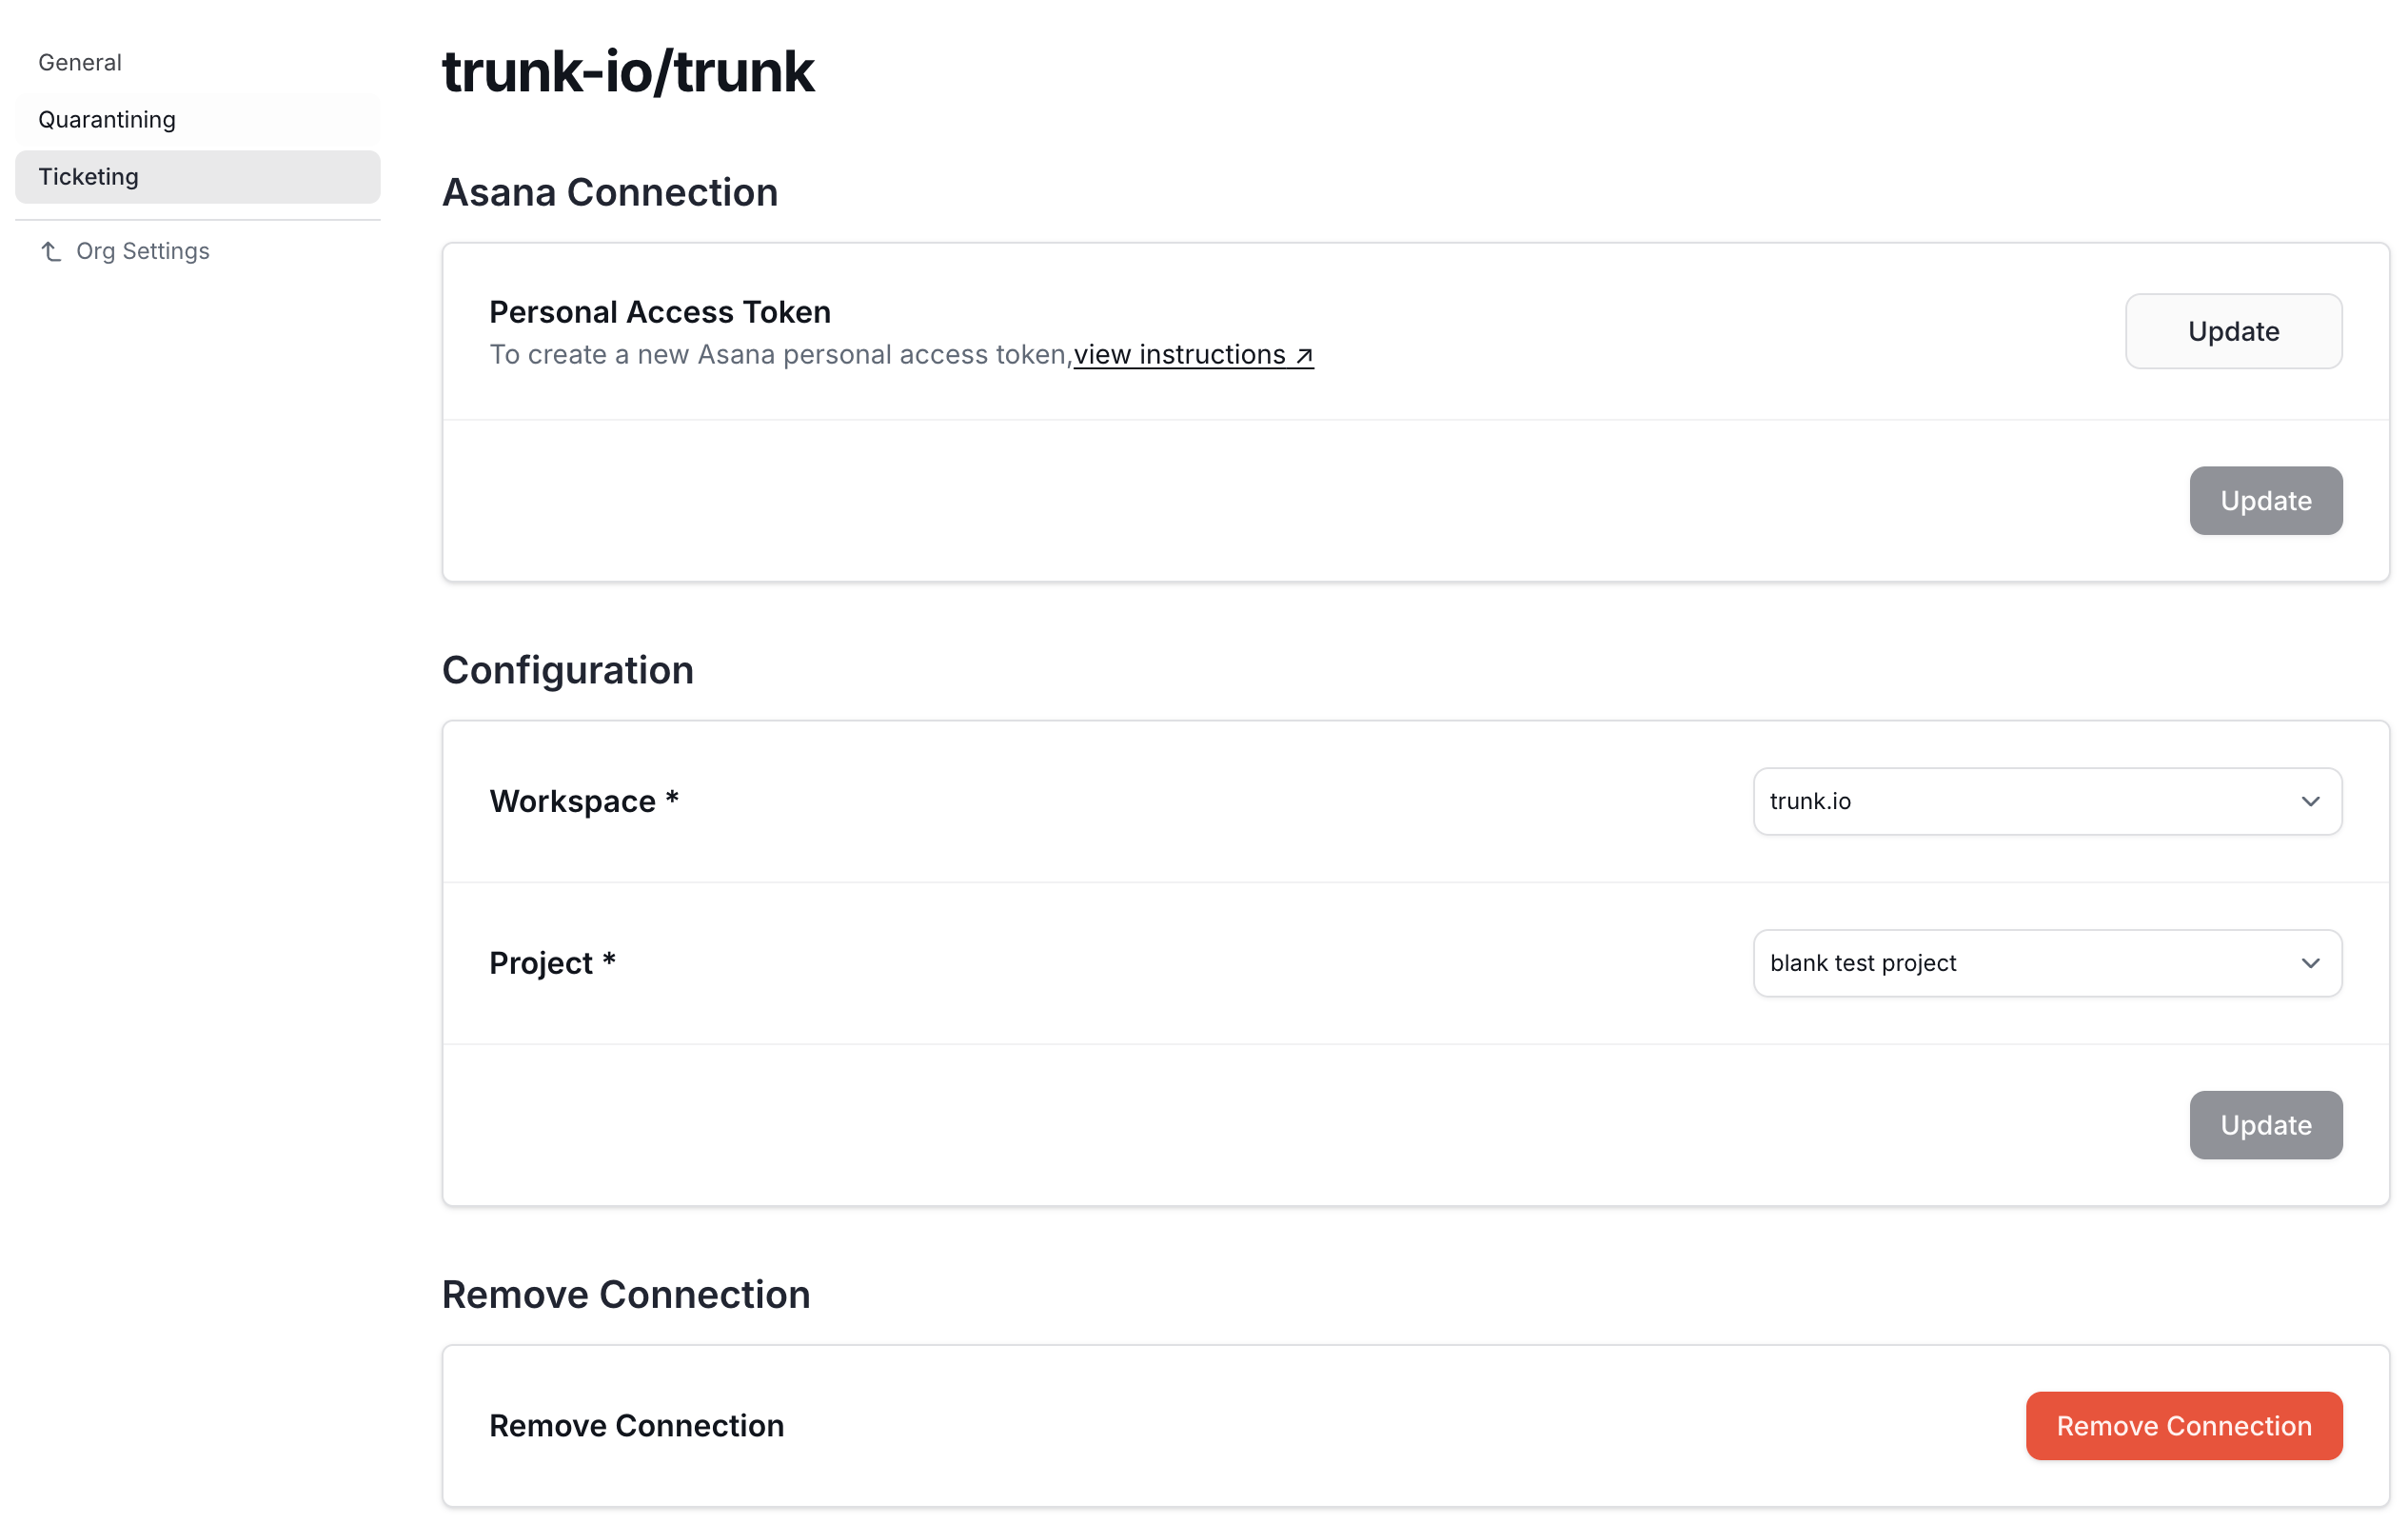
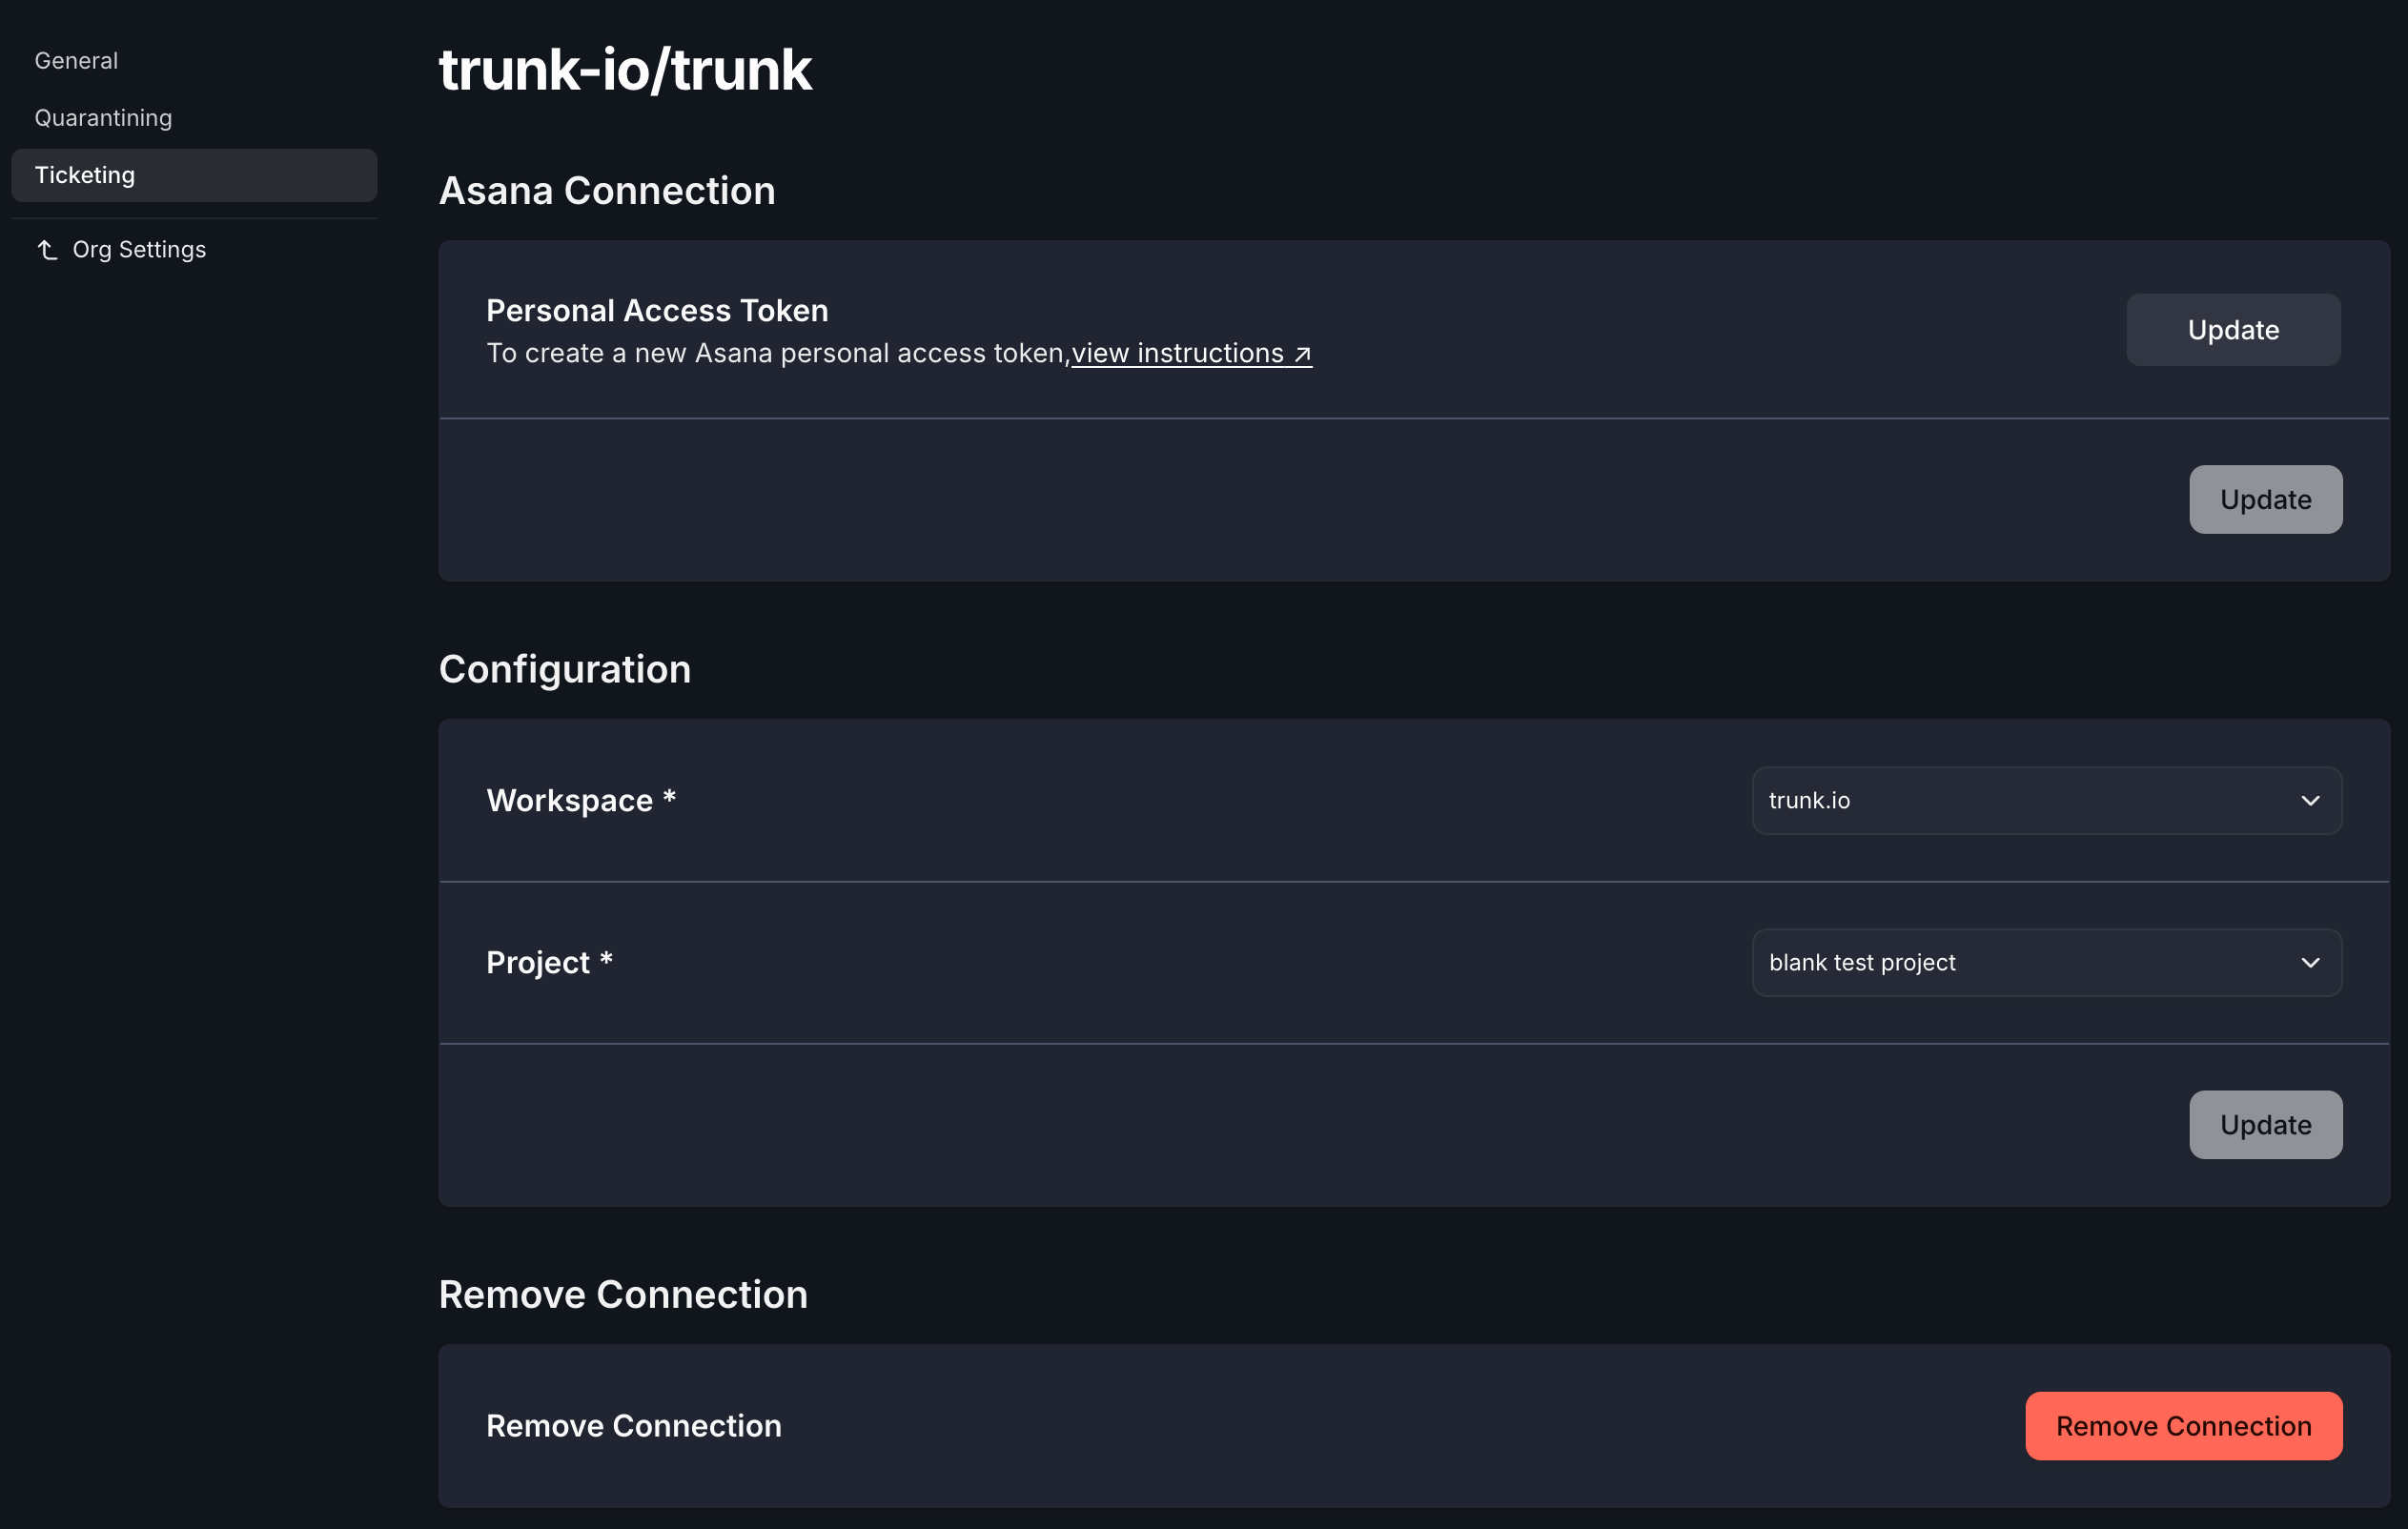
Personal access token
Create a personal access token from your Asana developer console. Asana personal access tokens have no granular scopes — a token acts as the person who created it, with that person’s permissions. The token must belong to someone who can see the workspace and project you want to file tickets in, and who can create tasks there.Tickets are created and updated by the token’s owner, so that person appears as the author of every automated ticket and comment. Use a service account if you would rather the activity not be attributed to an individual.
Statuses are project sections
Asana has no workflow states. Trunk uses your project’s sections — the columns on a board, such asTo do, In progress, and Done — as the ticket status. A ticket’s status is whichever section it sits in.
Asana tracks completion separately from sections: a task has a Completed checkbox that is independent of which column it is in. Trunk treats a ticket as closed only when both are true:
- the task is marked complete, and
- the task sits in the section you configured as the close target.
Because Asana sections carry no built-in meaning, Trunk cannot tell which of your columns represents “done”. Both the close and reopen dropdowns list every section in the project, and you choose. A column named
Shipped or Released works exactly as well as one named Done.Ticket automation
Once the integration is fully configured, you can enable automatic ticketing from the same settings page: Trunk will create Asana tasks when tests become flaky or broken, reopen them on regression, and close them when tests return to healthy. When Trunk closes a ticket, it marks the task complete and moves it to your configured close section. When it reopens one, it clears the completed flag and moves the task to your configured reopen section.Create a new ticket
You can create a new ticket for any test listed in Flaky Tests. There are 2 ways to create a new ticket in the Flaky Tests dashboard:- Click on the options menu for any test case on the repo overview dashboard
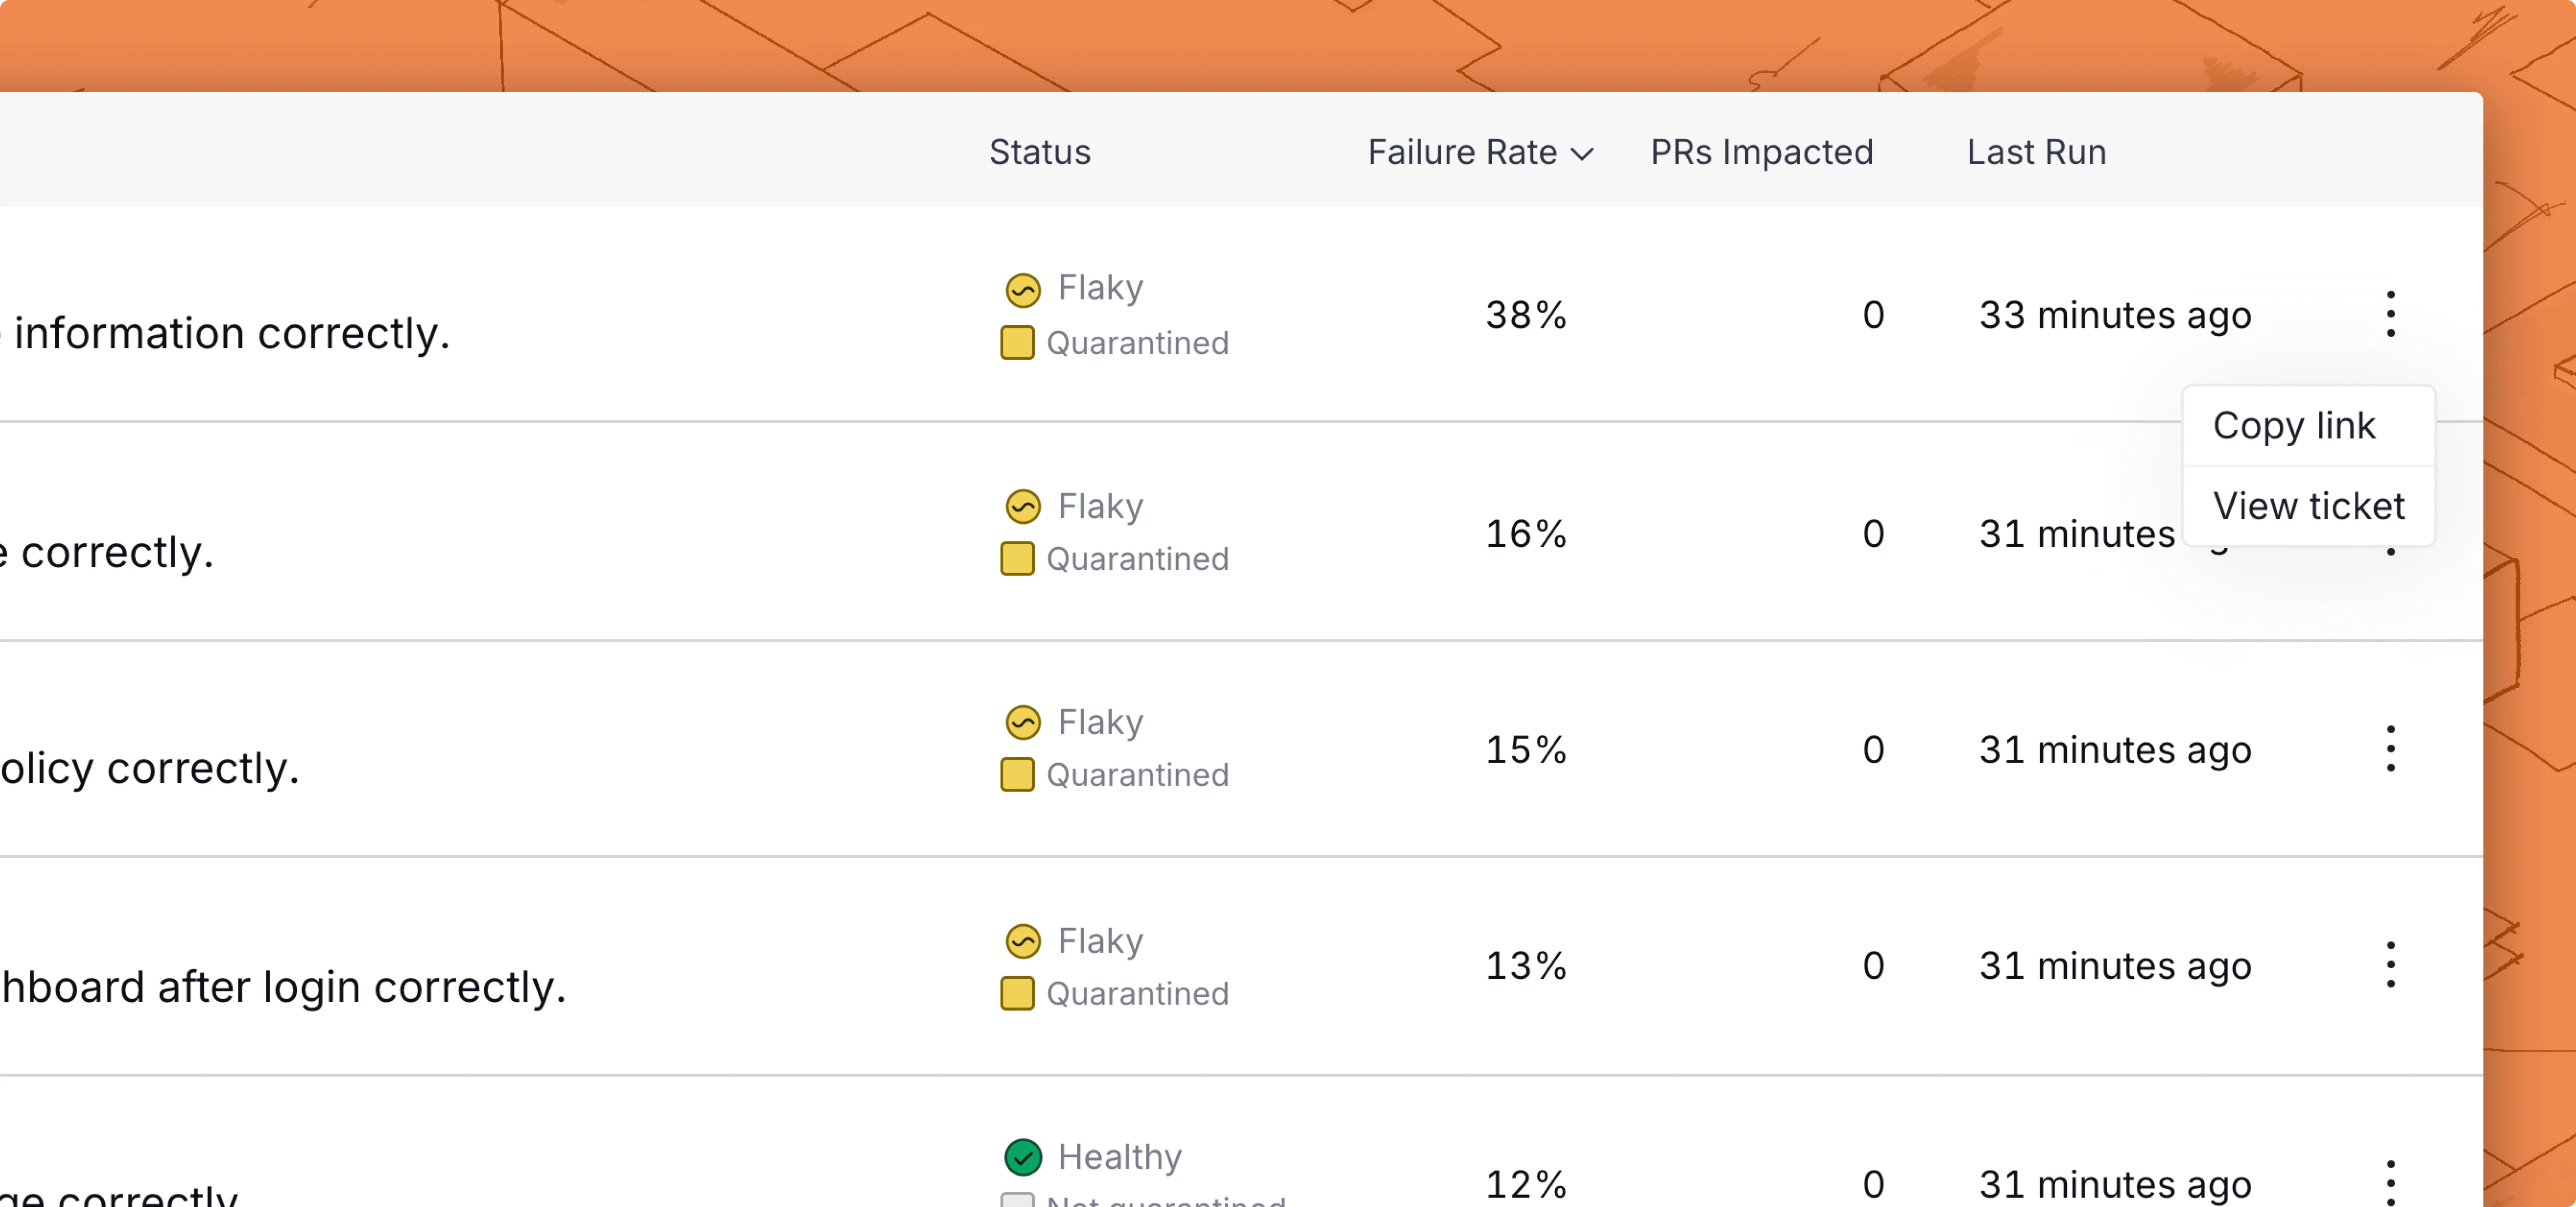
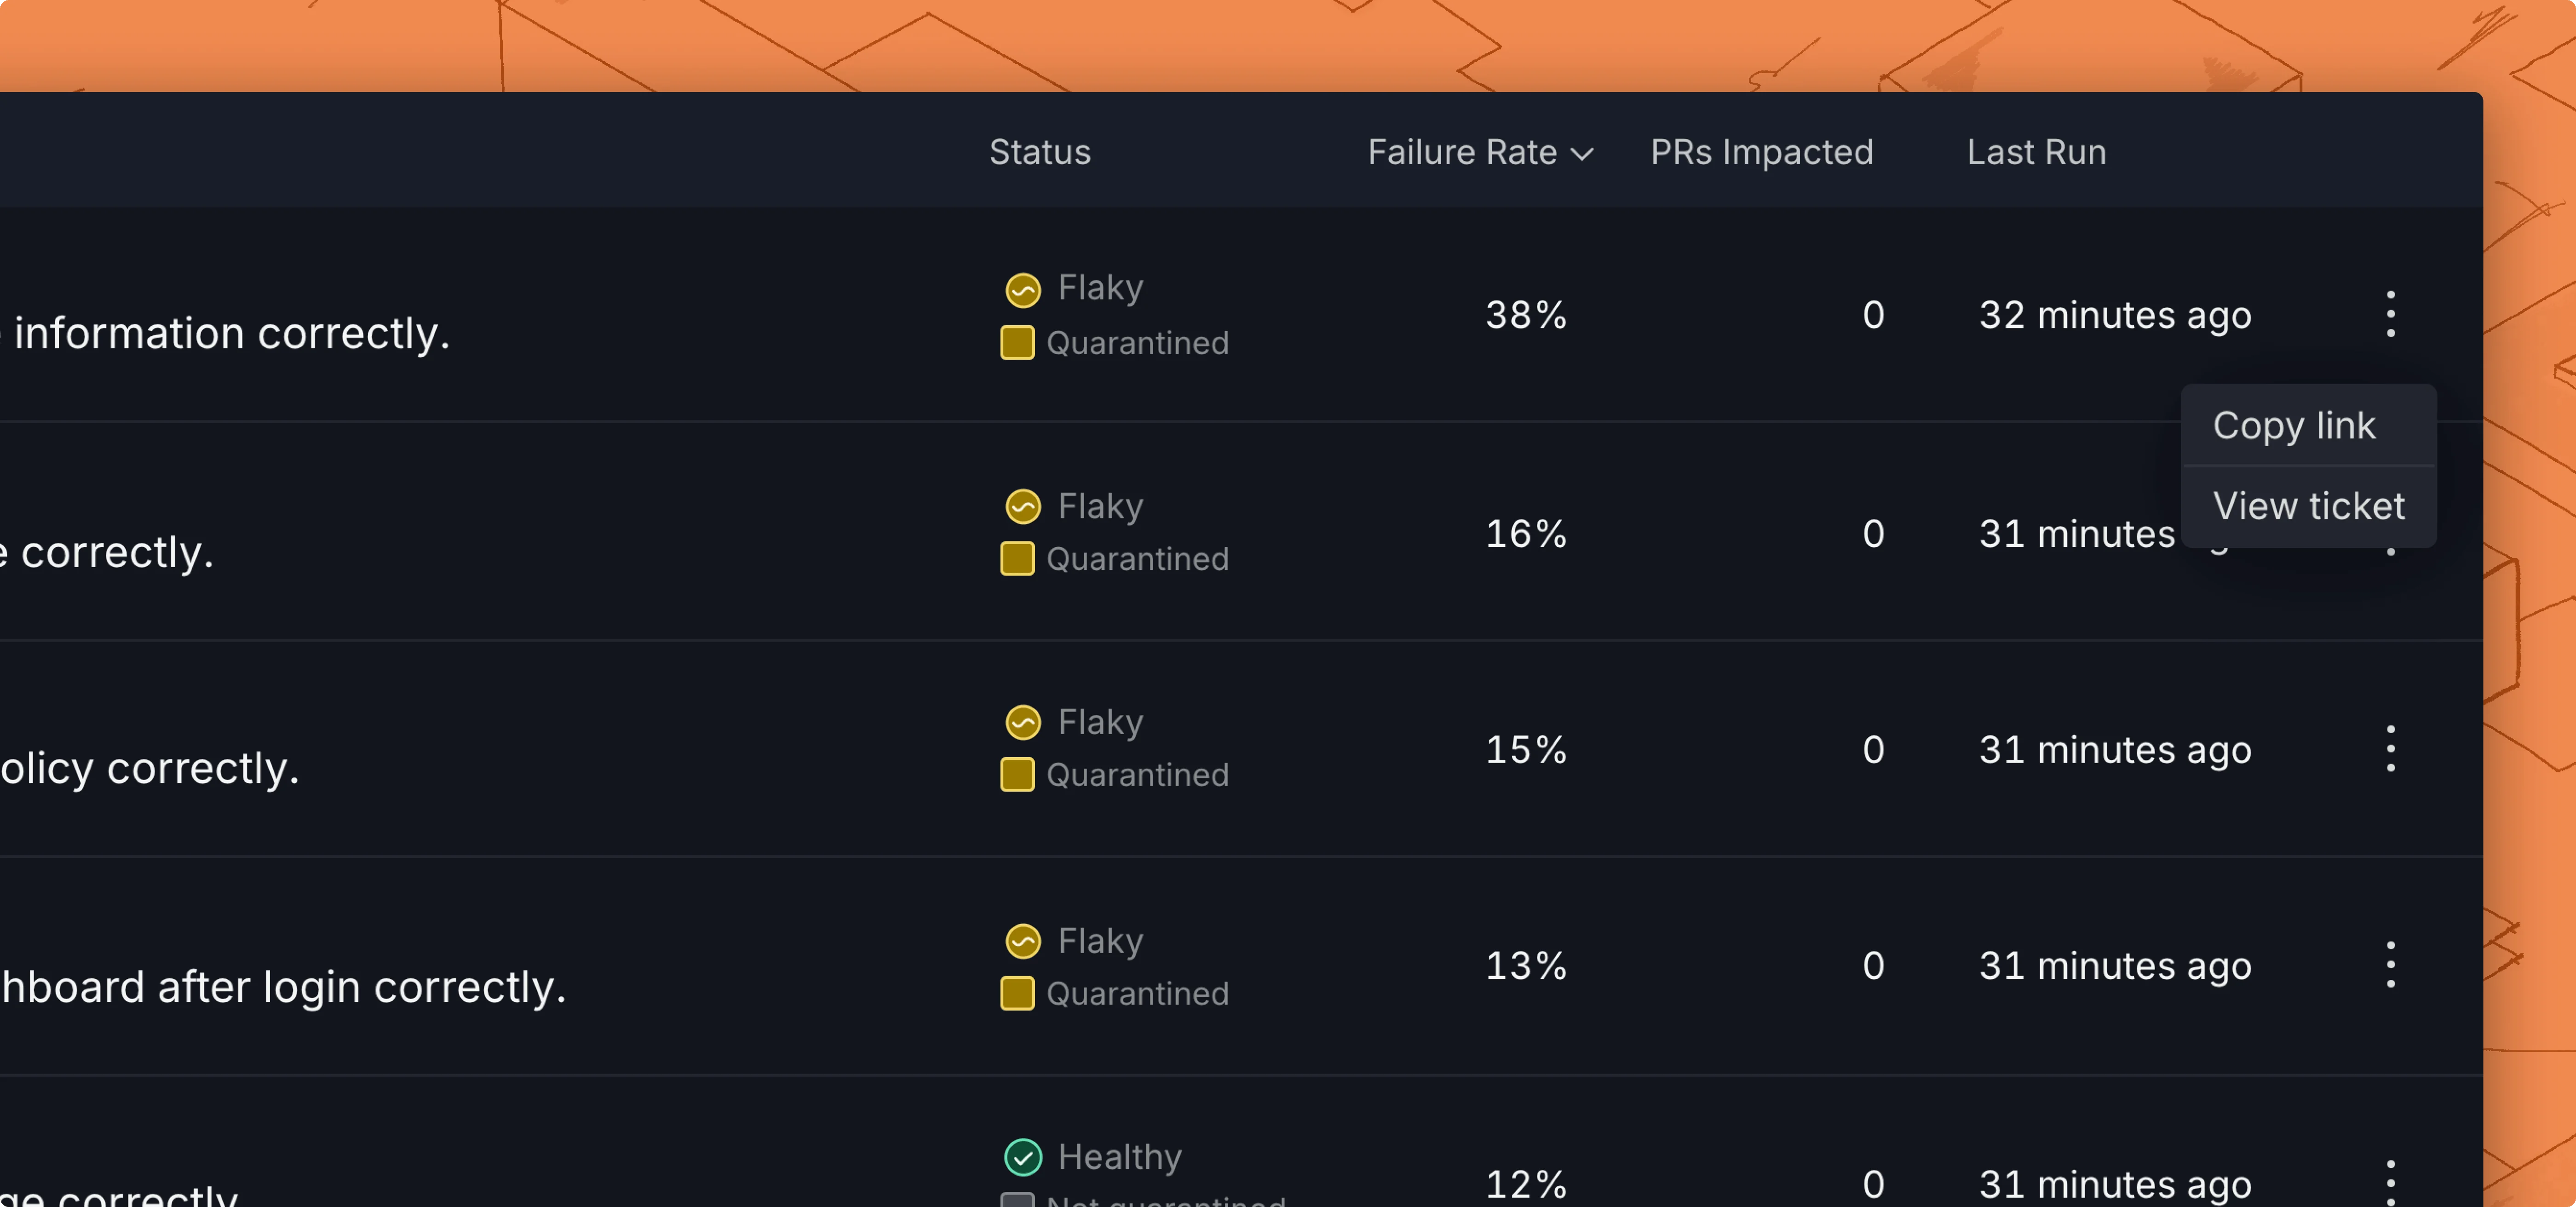
- Use the Create ticket button in the top left corner of the test case details page.
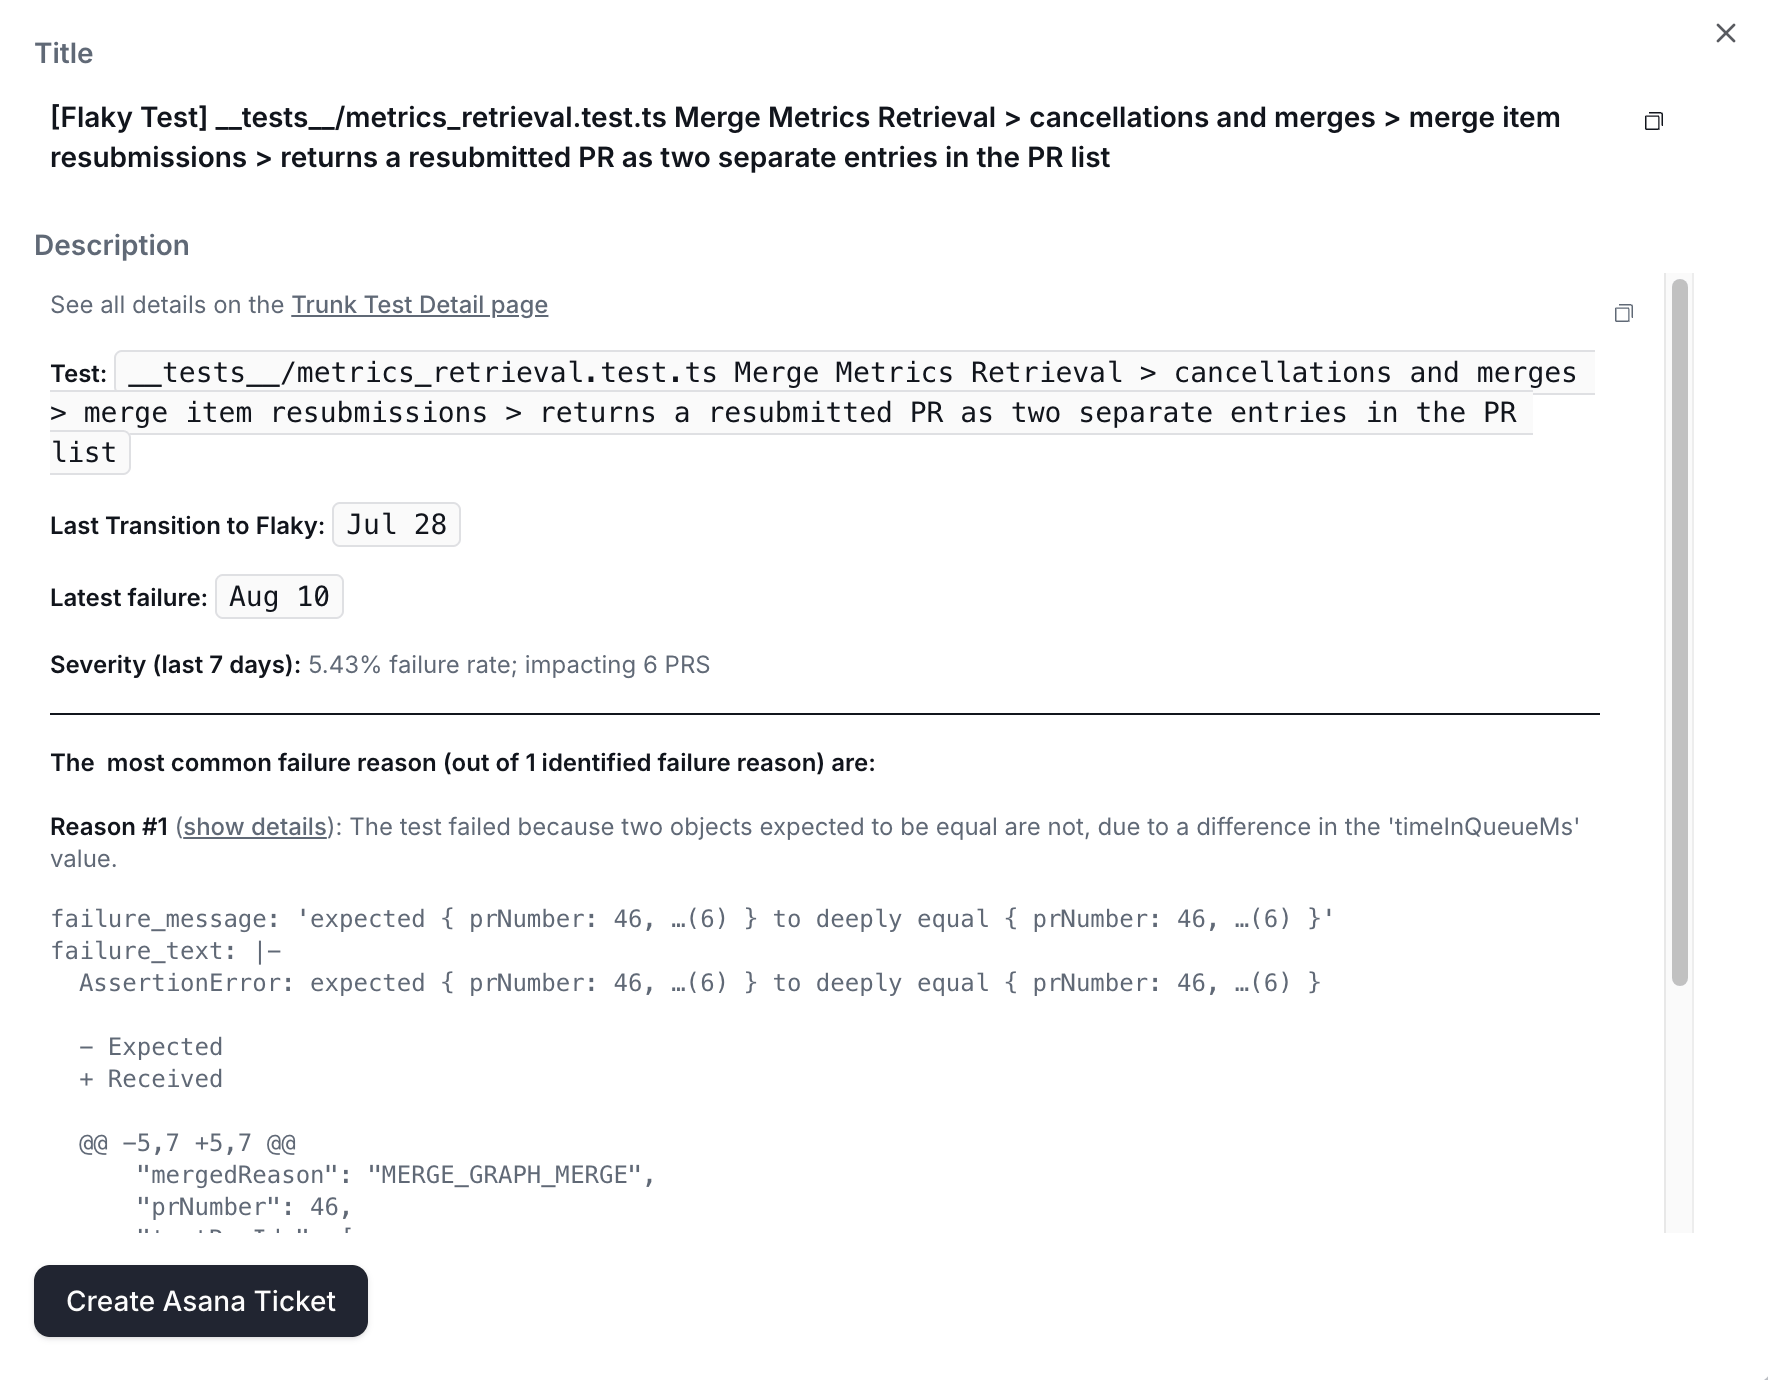
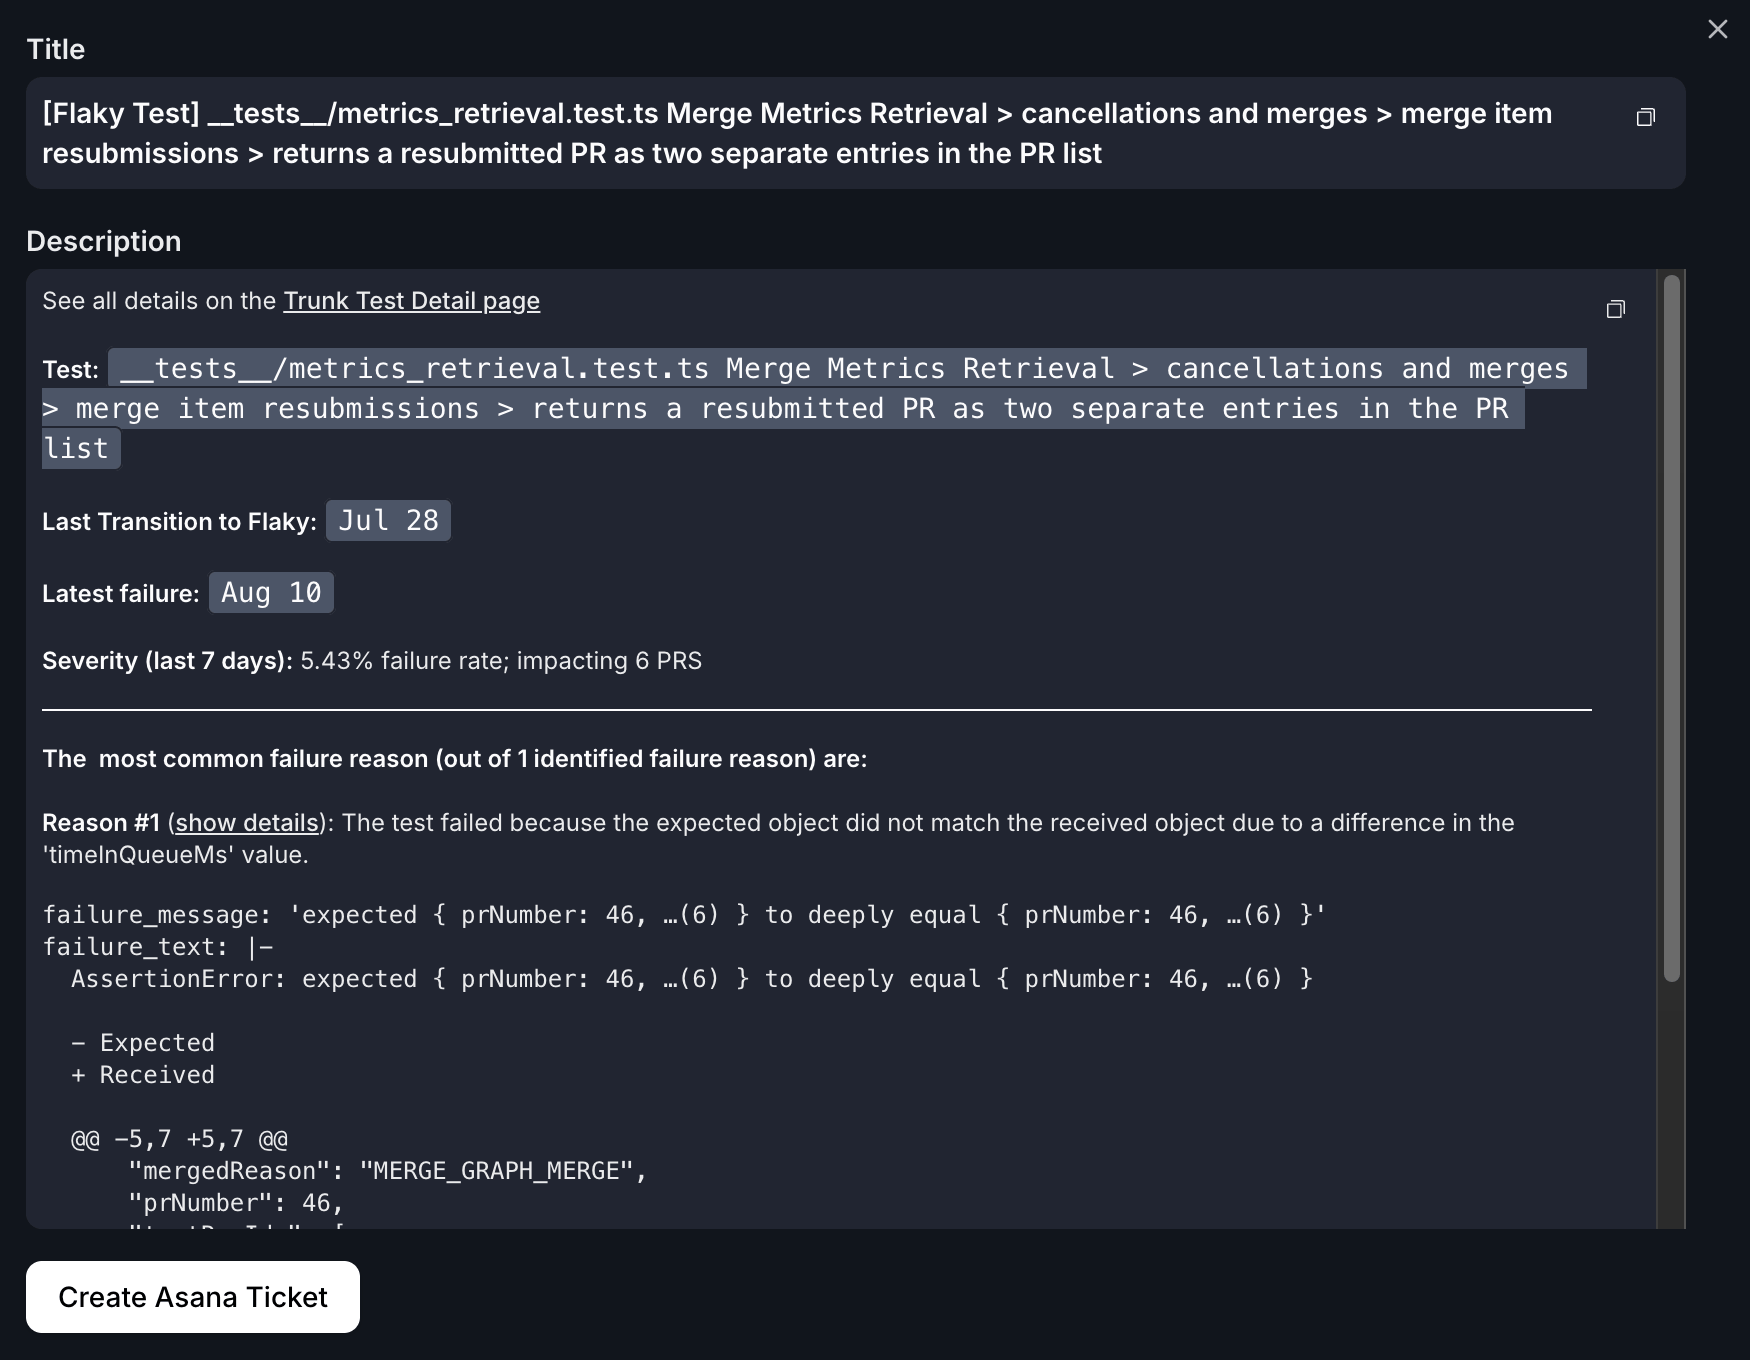
Create with Asana
If you are connected to Asana, you can click the Create Asana Ticket button at the end of the modal to create a task in the configured project with any field defaults you have set.Field defaults
After selecting a project, you can configure default values that pre-populate whenever a new Asana task is created from Flaky Tests. The available fields are your project’s custom fields. Trunk supports these Asana custom field types:
Date and reference fields are not supported and do not appear in the list. Formula and custom-ID fields are also omitted — Asana calculates those and rejects any attempt to write them.
Custom fields belong to a project, so changing the selected Project clears every configured default. Choose the project first, then set defaults.
Requiring fields at ticket creation
For each field, you can check Require user to fill at creation instead of setting a default value. When this option is on, the field appears in the Create Ticket modal as a required input, and the create button stays disabled until the user fills every required field. This is useful for fields whose right value depends on the specific test being triaged and should not be pre-set globally.Automatic ticketing cannot answer a create-time prompt. If you turn on auto-create, every required field needs a default, and Trunk blocks the save until they have one.
Link existing tickets to tests
If you already have an Asana task for a test, you can link it directly from the Test Details page without creating a new one. From the UI:- Open the test case details page.
- Click Link Ticket in the top-left corner.
- Enter the Asana task ID and click Link Ticket.
https://app.asana.com/1/12345/project/67890/task/1217199000848901, the task ID is 1217199000848901.
The task must be in the project you configured. Linking a task from a different project is rejected, because Trunk reads its status from that project’s sections and would have no status to show.
Via API:
You can also link tickets programmatically using the Link Ticket to Test Case API.
How linked tickets appear
On the test case details page, a linked Asana ticket shows as Ticket with its current status and assignee, linking out to the task in Asana. Asana has no short human-readable key like Jira’sTRUNK-123, and the generated task name ([Flaky Test] <test name>) is too long to display, so Trunk shows a generic label rather than a truncated title.