Setup steps
Work through the steps below in order. Once you’ve finished the last one, you’ll be ready to move on to configure uploads in CI.Generating Reports
Steps for generating JUnit XML reports for Kotest depend on the build system you use for your project:- Gradle
- Maven
Tests run with Gradle will generate Trunk-compatible JUnit XML reports by default. You can further configure reporting behavior in your
build.gradle.kts or build.gradle.Report File Path
You can configure the path for generated JUnit XML files:- Gradle
- Maven
By default, Kotlin projects will produce a directory with JUnit XML reports under
./app/build/test-results/test. You can locate these files with the glob "./app/build/test-results/test/*.xml".If you wish to override the default test result path, you can do so in the build.gradle.kts or build.gradle files:build.gradle.kts (Kotlin) or build.gradle (Groovy)
Disable Retries
You need to disable automatic retries if you previously enabled them. Retries compromise the accurate detection of flaky tests. You should disable retries for accurate detection and use the Quarantining feature to stop flaky tests from failing your CI jobs.- Gradle
- Maven
If you’ve enabled retries using a plugin like the test-retry-gradle-plugin, disable it when running tests for Trunk Flaky Tests.
Try It Locally
The Validate Command
You can validate your test reports using the Trunk Analytics CLI. If you don’t have it installed already, you can install and run thevalidate command like this:
The
validate and upload examples below use the Gradle default output path. Point --junit-paths at the glob that matches your build:- Gradle (default):
./app/build/test-results/test/*.xml - Gradle with the
testResultsDiroverride shown above:./app/build/junit-reports/test/*.xml - Maven:
./target/junit/*.xml
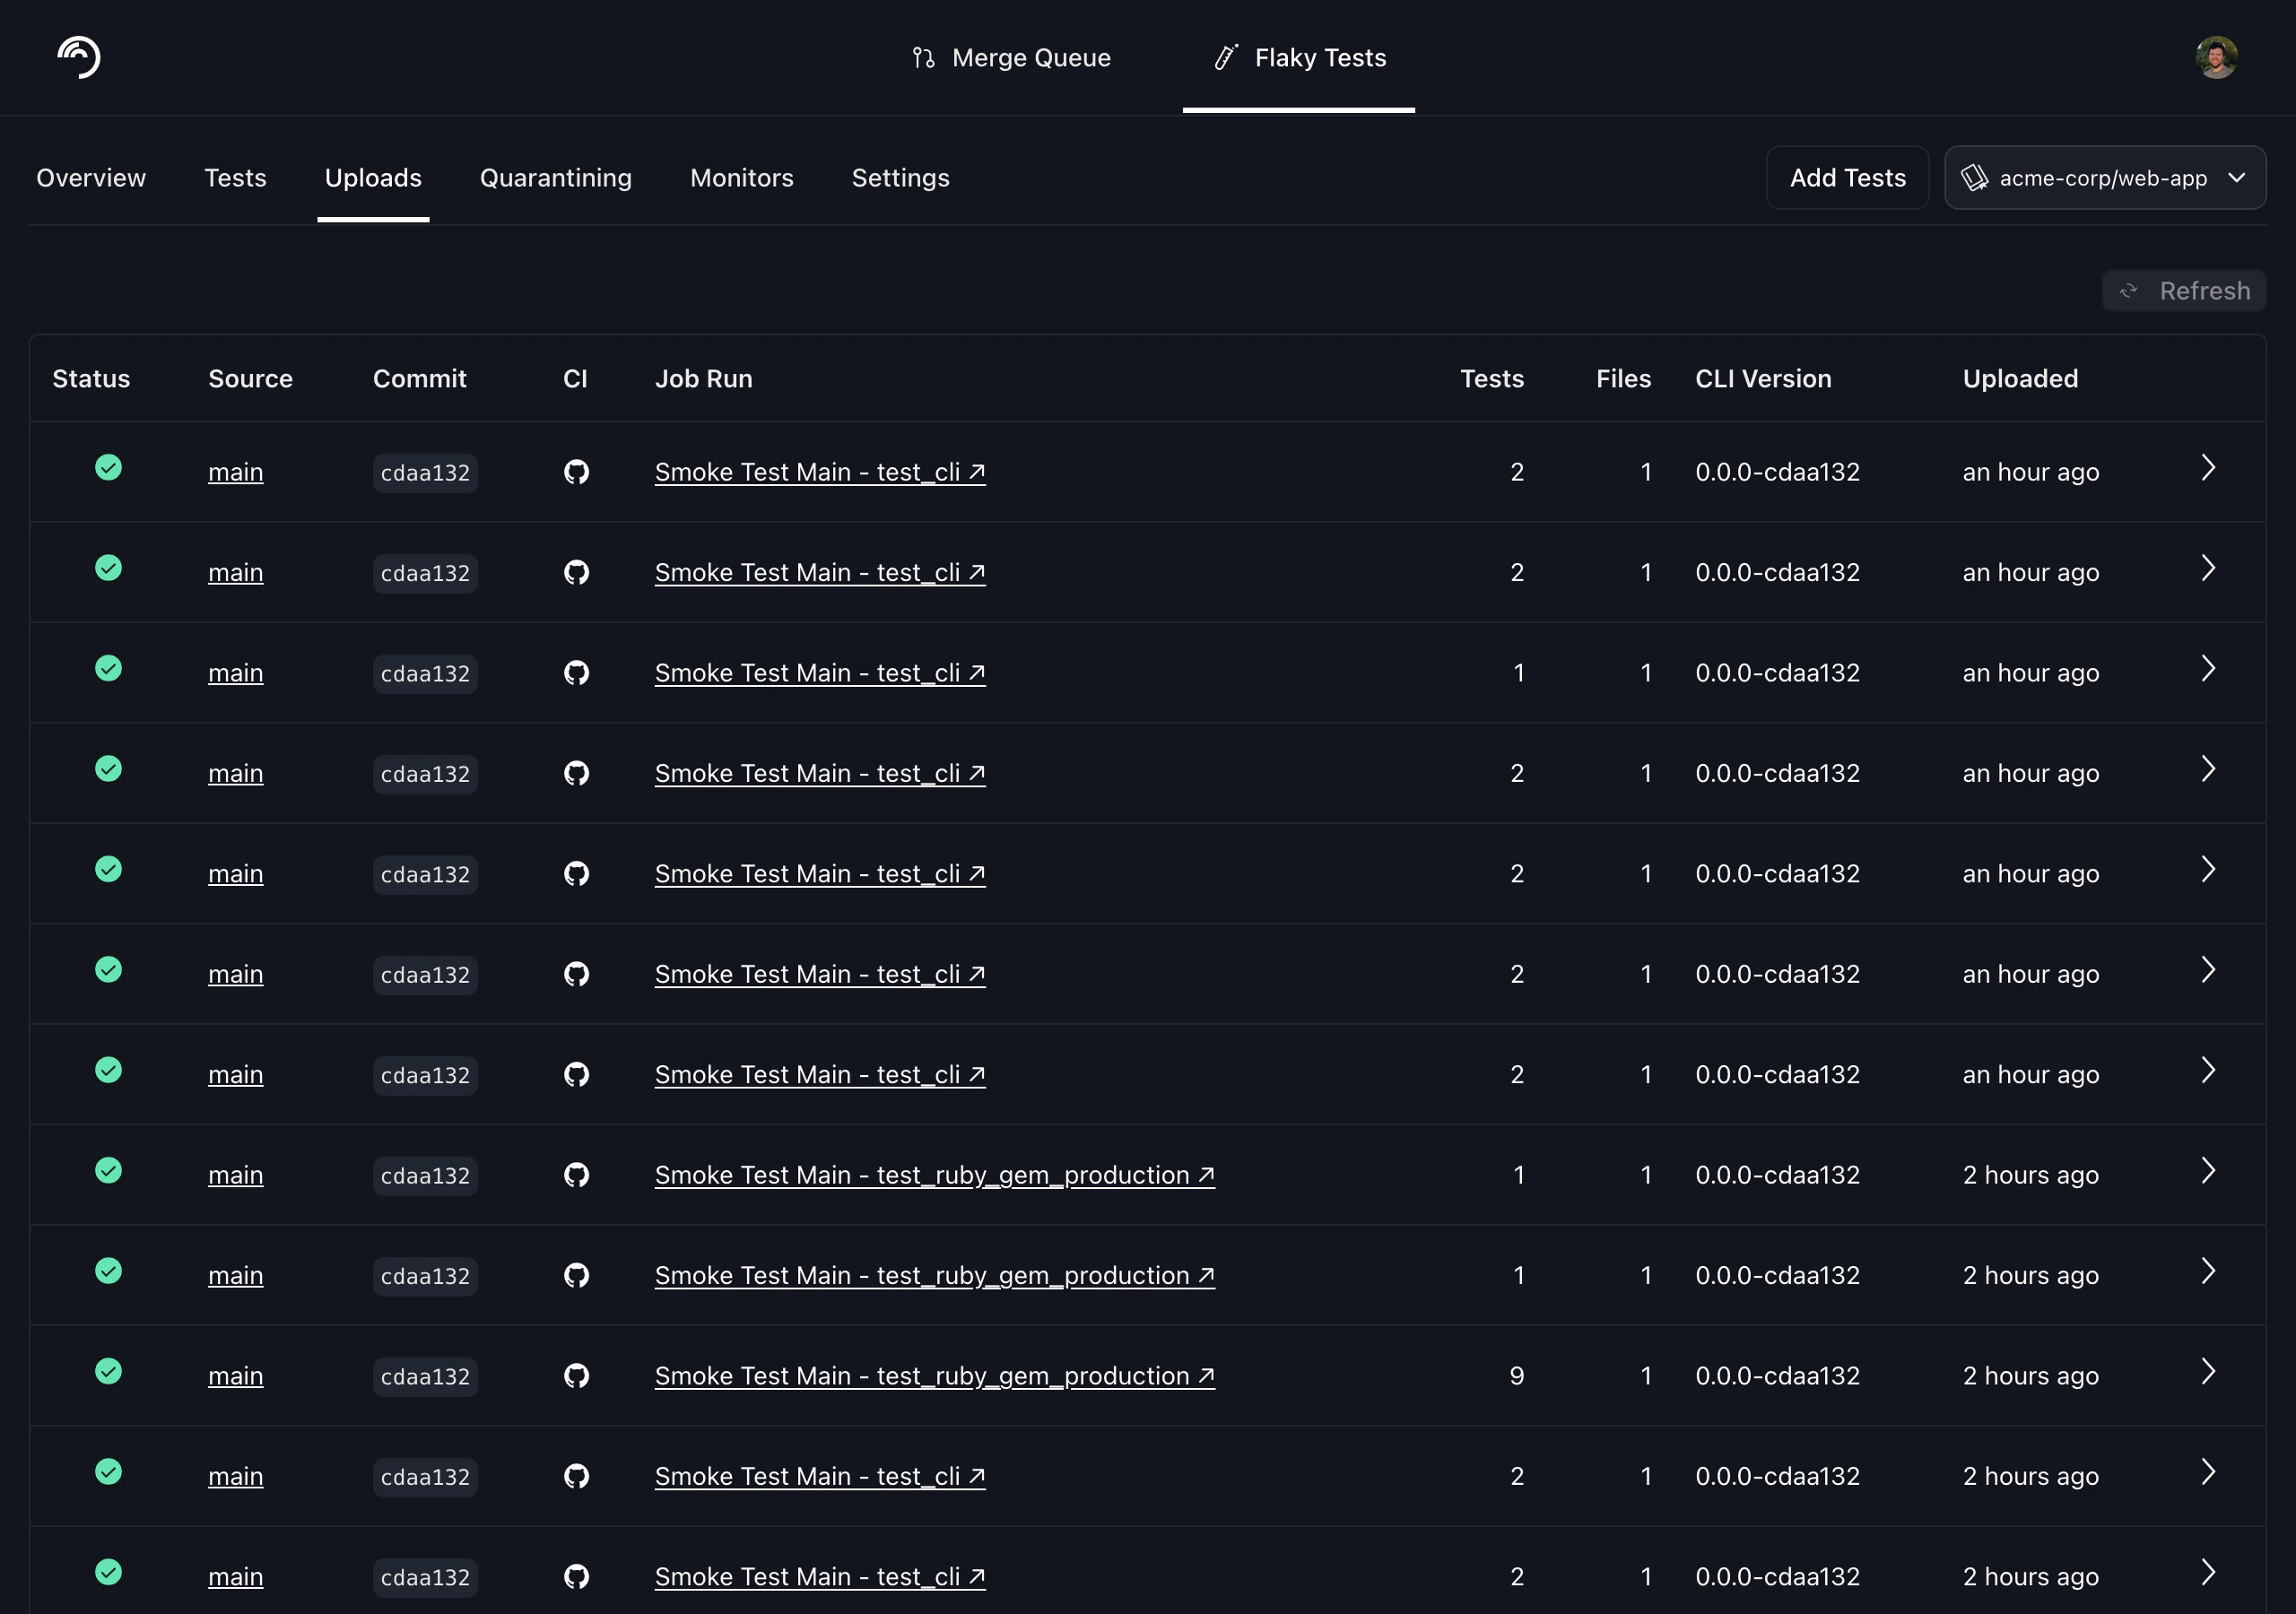
Test Upload
Before modifying your CI jobs to automatically upload test results to Trunk, try uploading a single test run manually. You make an upload to Trunk using the following command: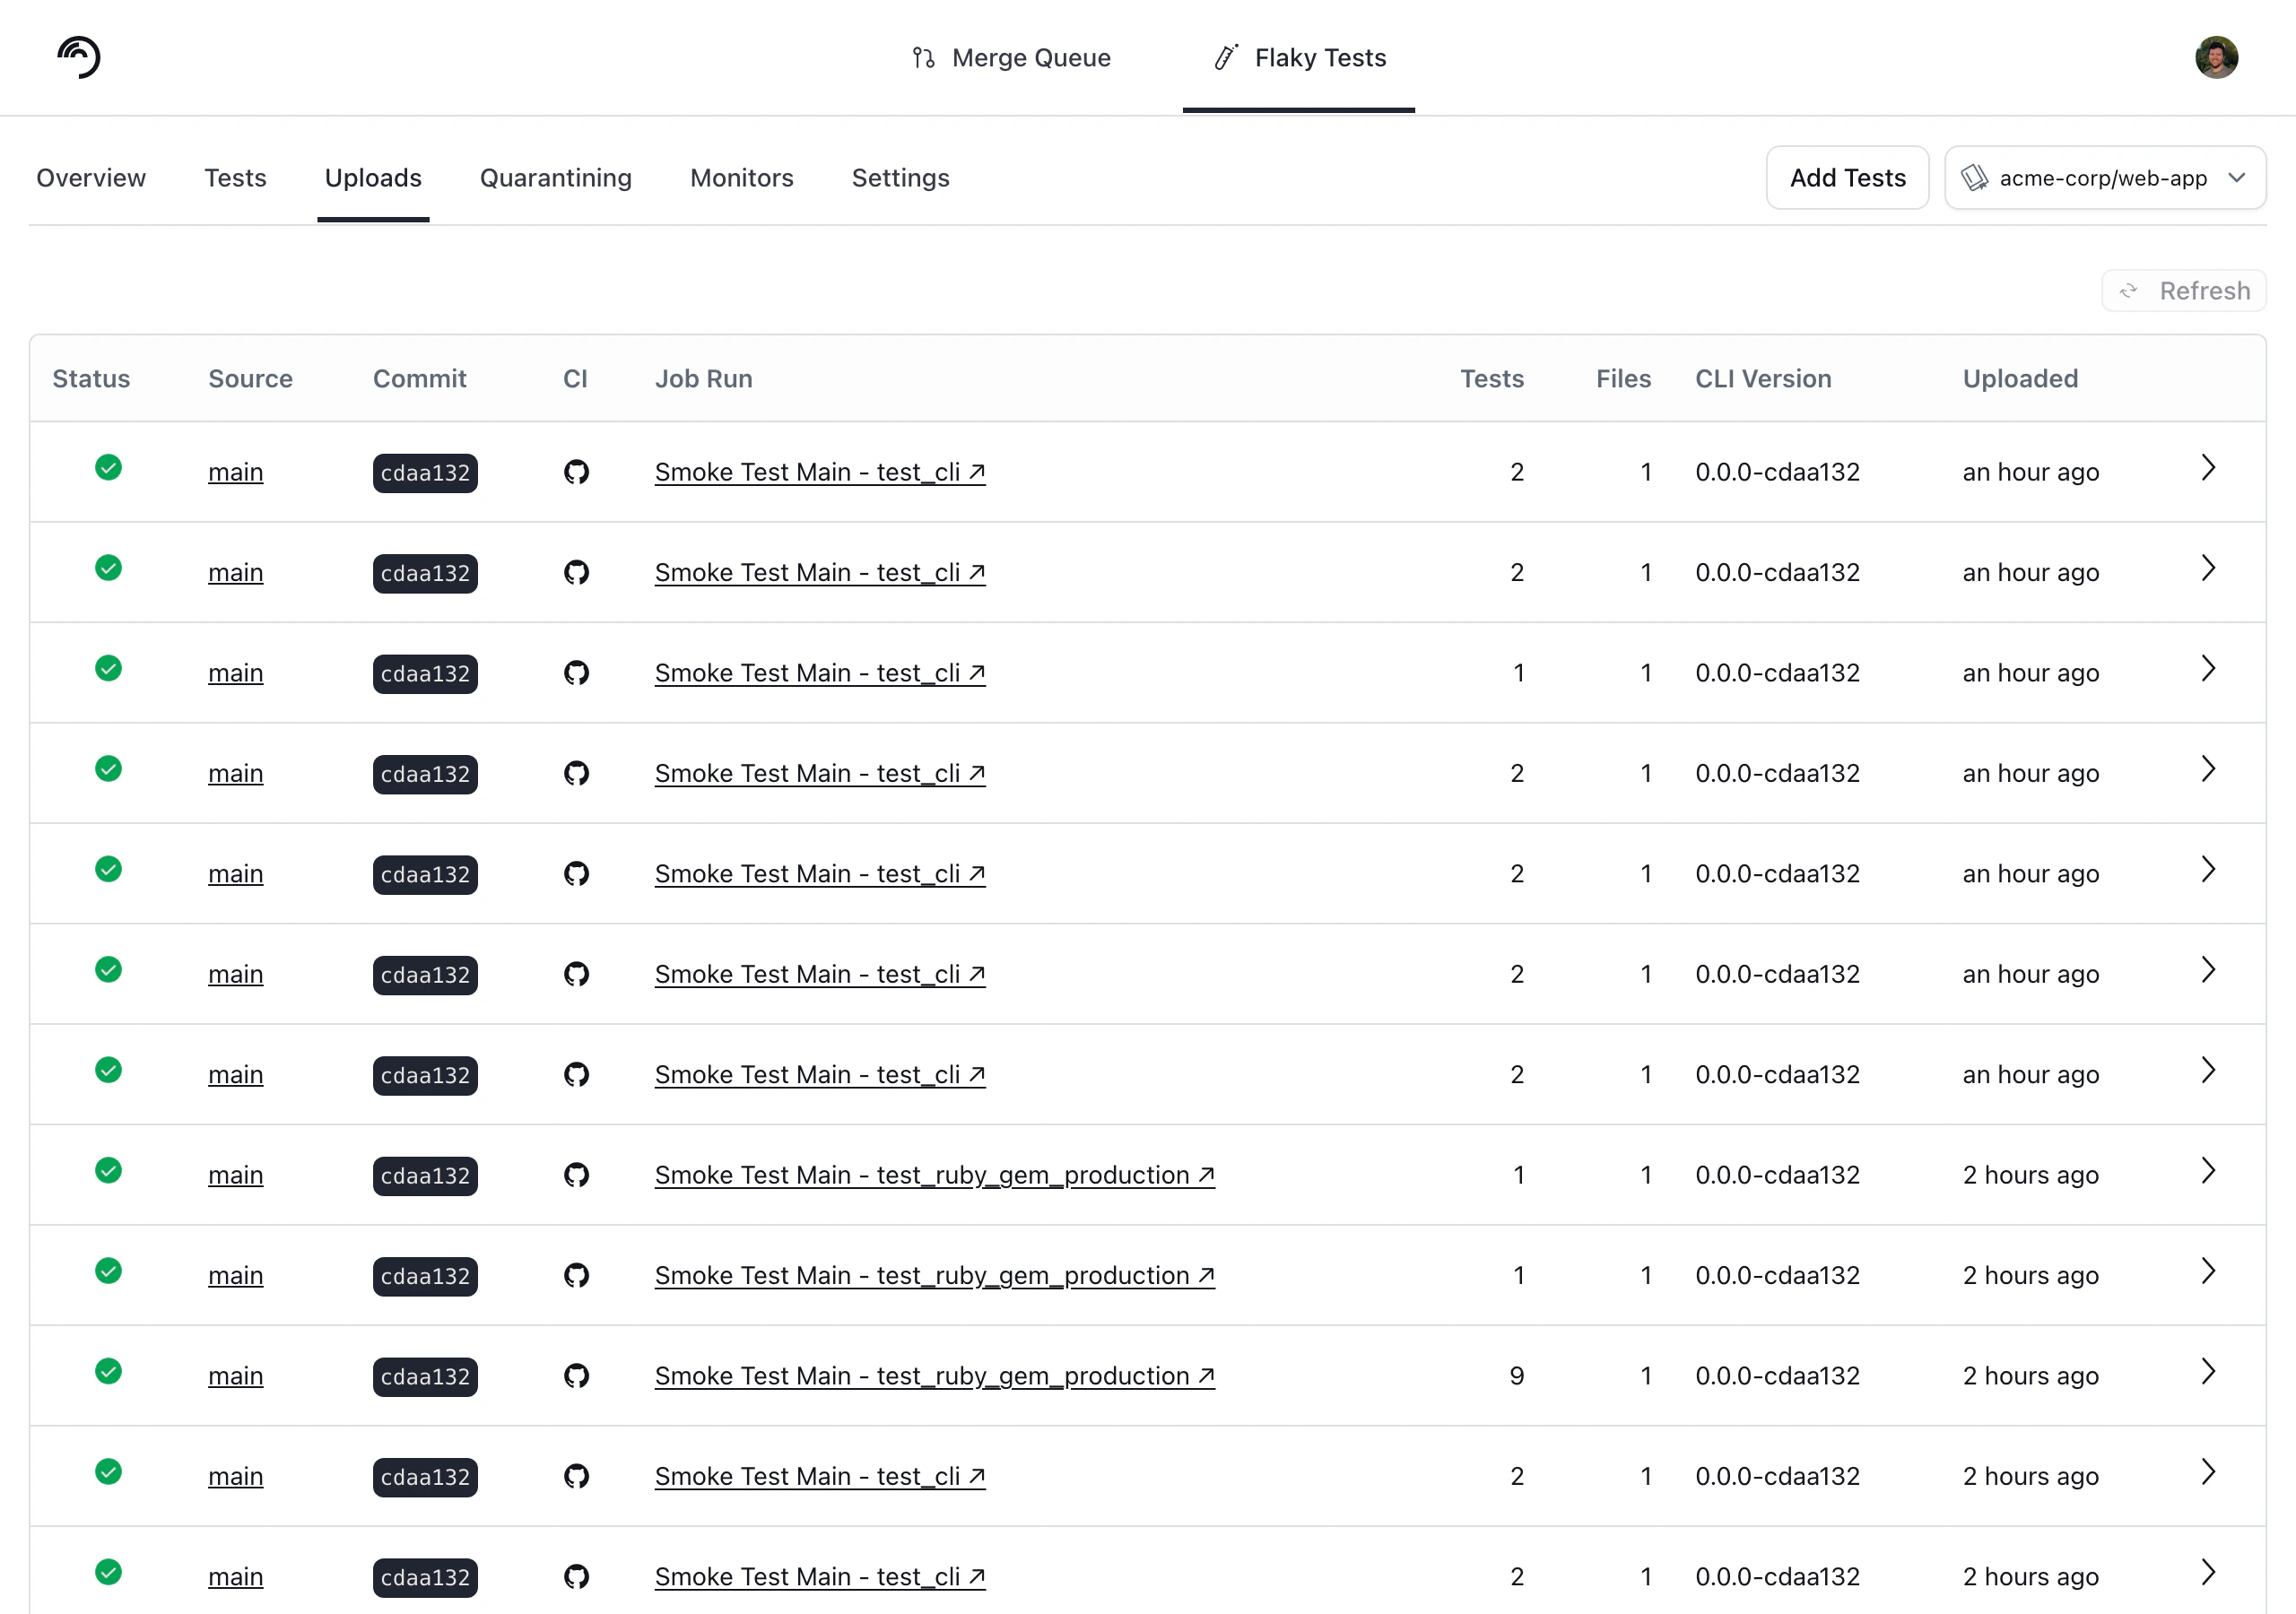
Next Steps
Configure your CI to upload test runs to Trunk. Find the guides for your CI framework below:
Atlassian Bamboo

Azure DevOps Pipelines

BitBucket Pipelines

BuildKite

CircleCI

Drone CI

GitHub Actions

GitLab

Jenkins

Semaphore
TeamCity

Travis CI