Setup steps
Work through the steps below in order. Once you’ve finished the last one, you’ll be ready to move on to configure uploads in CI.Generating Reports
Trunk detects flaky tests by analyzing test results automatically uploaded from your CI jobs. You can do this by generating Trunk-compatible XML reports from your test runs. You can configure Vitest to produce a Trunk-compatible JUnitXML report by updating yourvitest.config.ts.
vitest.config.ts
Important: The
addFileAttribute: true option is required for the JUnit report to pass trunk-analytics-cli validation. This option adds file path information to each test case in the XML output, which Trunk uses to associate test results with source files.Report File Path
TheoutputFile: './junit.xml' option specifies the path of the JUnit report. You’ll need this path later when configuring automatic uploads to Trunk.
Disable Retries
You need to disable automatic retries if you previously enabled them. Retries compromise the accurate detection of flaky tests. You should disable retries for accurate detection and use the Quarantining feature to stop flaky tests from failing your CI jobs. If you’ve enabled retries, you can disable them following the Vitest docs for more accurate results.Note: Configuration errors can sometimes mask themselves as consistent test failures. If you’re seeing file-level test entries instead of individual test cases, resolve configuration issues first before adjusting retry settings. A properly configured test suite should show individual test case names in the JUnit output, not file names.
Troubleshooting
Configuration Errors and File-Level Test Failures Issue: You might see Trunk identifying flaky tests with names that match your test file names (e.g.,auth.test.ts instead of should login successfully) rather than individual test case names.
Root Cause: This typically occurs when Vitest encounters configuration errors that prevent it from properly parsing or running the tests in a file. Common scenarios include:
- TypeScript configuration errors in
tsconfig.json - Missing dependencies or import resolution failures
- Syntax errors in test setup files
- Invalid Vitest configuration options
- Run your tests locally with verbose output:
vitest --reporter=verbose - Check for configuration warnings or errors in the test output
- Look for test files that show as single entries in your JUnit report when they should contain multiple test cases
- Check TypeScript Configuration: Ensure your
tsconfig.jsonis valid and includes all necessary paths - Verify Dependencies: Make sure all imported modules are properly installed and accessible
- Review Setup Files: Check any test setup files referenced in your Vitest config for errors
- Validate Vitest Config: Make sure your
vitest.config.tsdoesn’t contain invalid options
Try It Locally
Validate Test Execution First
Before validating your JUnit reports with Trunk, make sure Vitest can properly execute your tests:validate command like this:
The Validate Command
Test Upload
Before modifying your CI jobs to automatically upload test results to Trunk, try uploading a single test run manually. You make an upload to Trunk using the following command: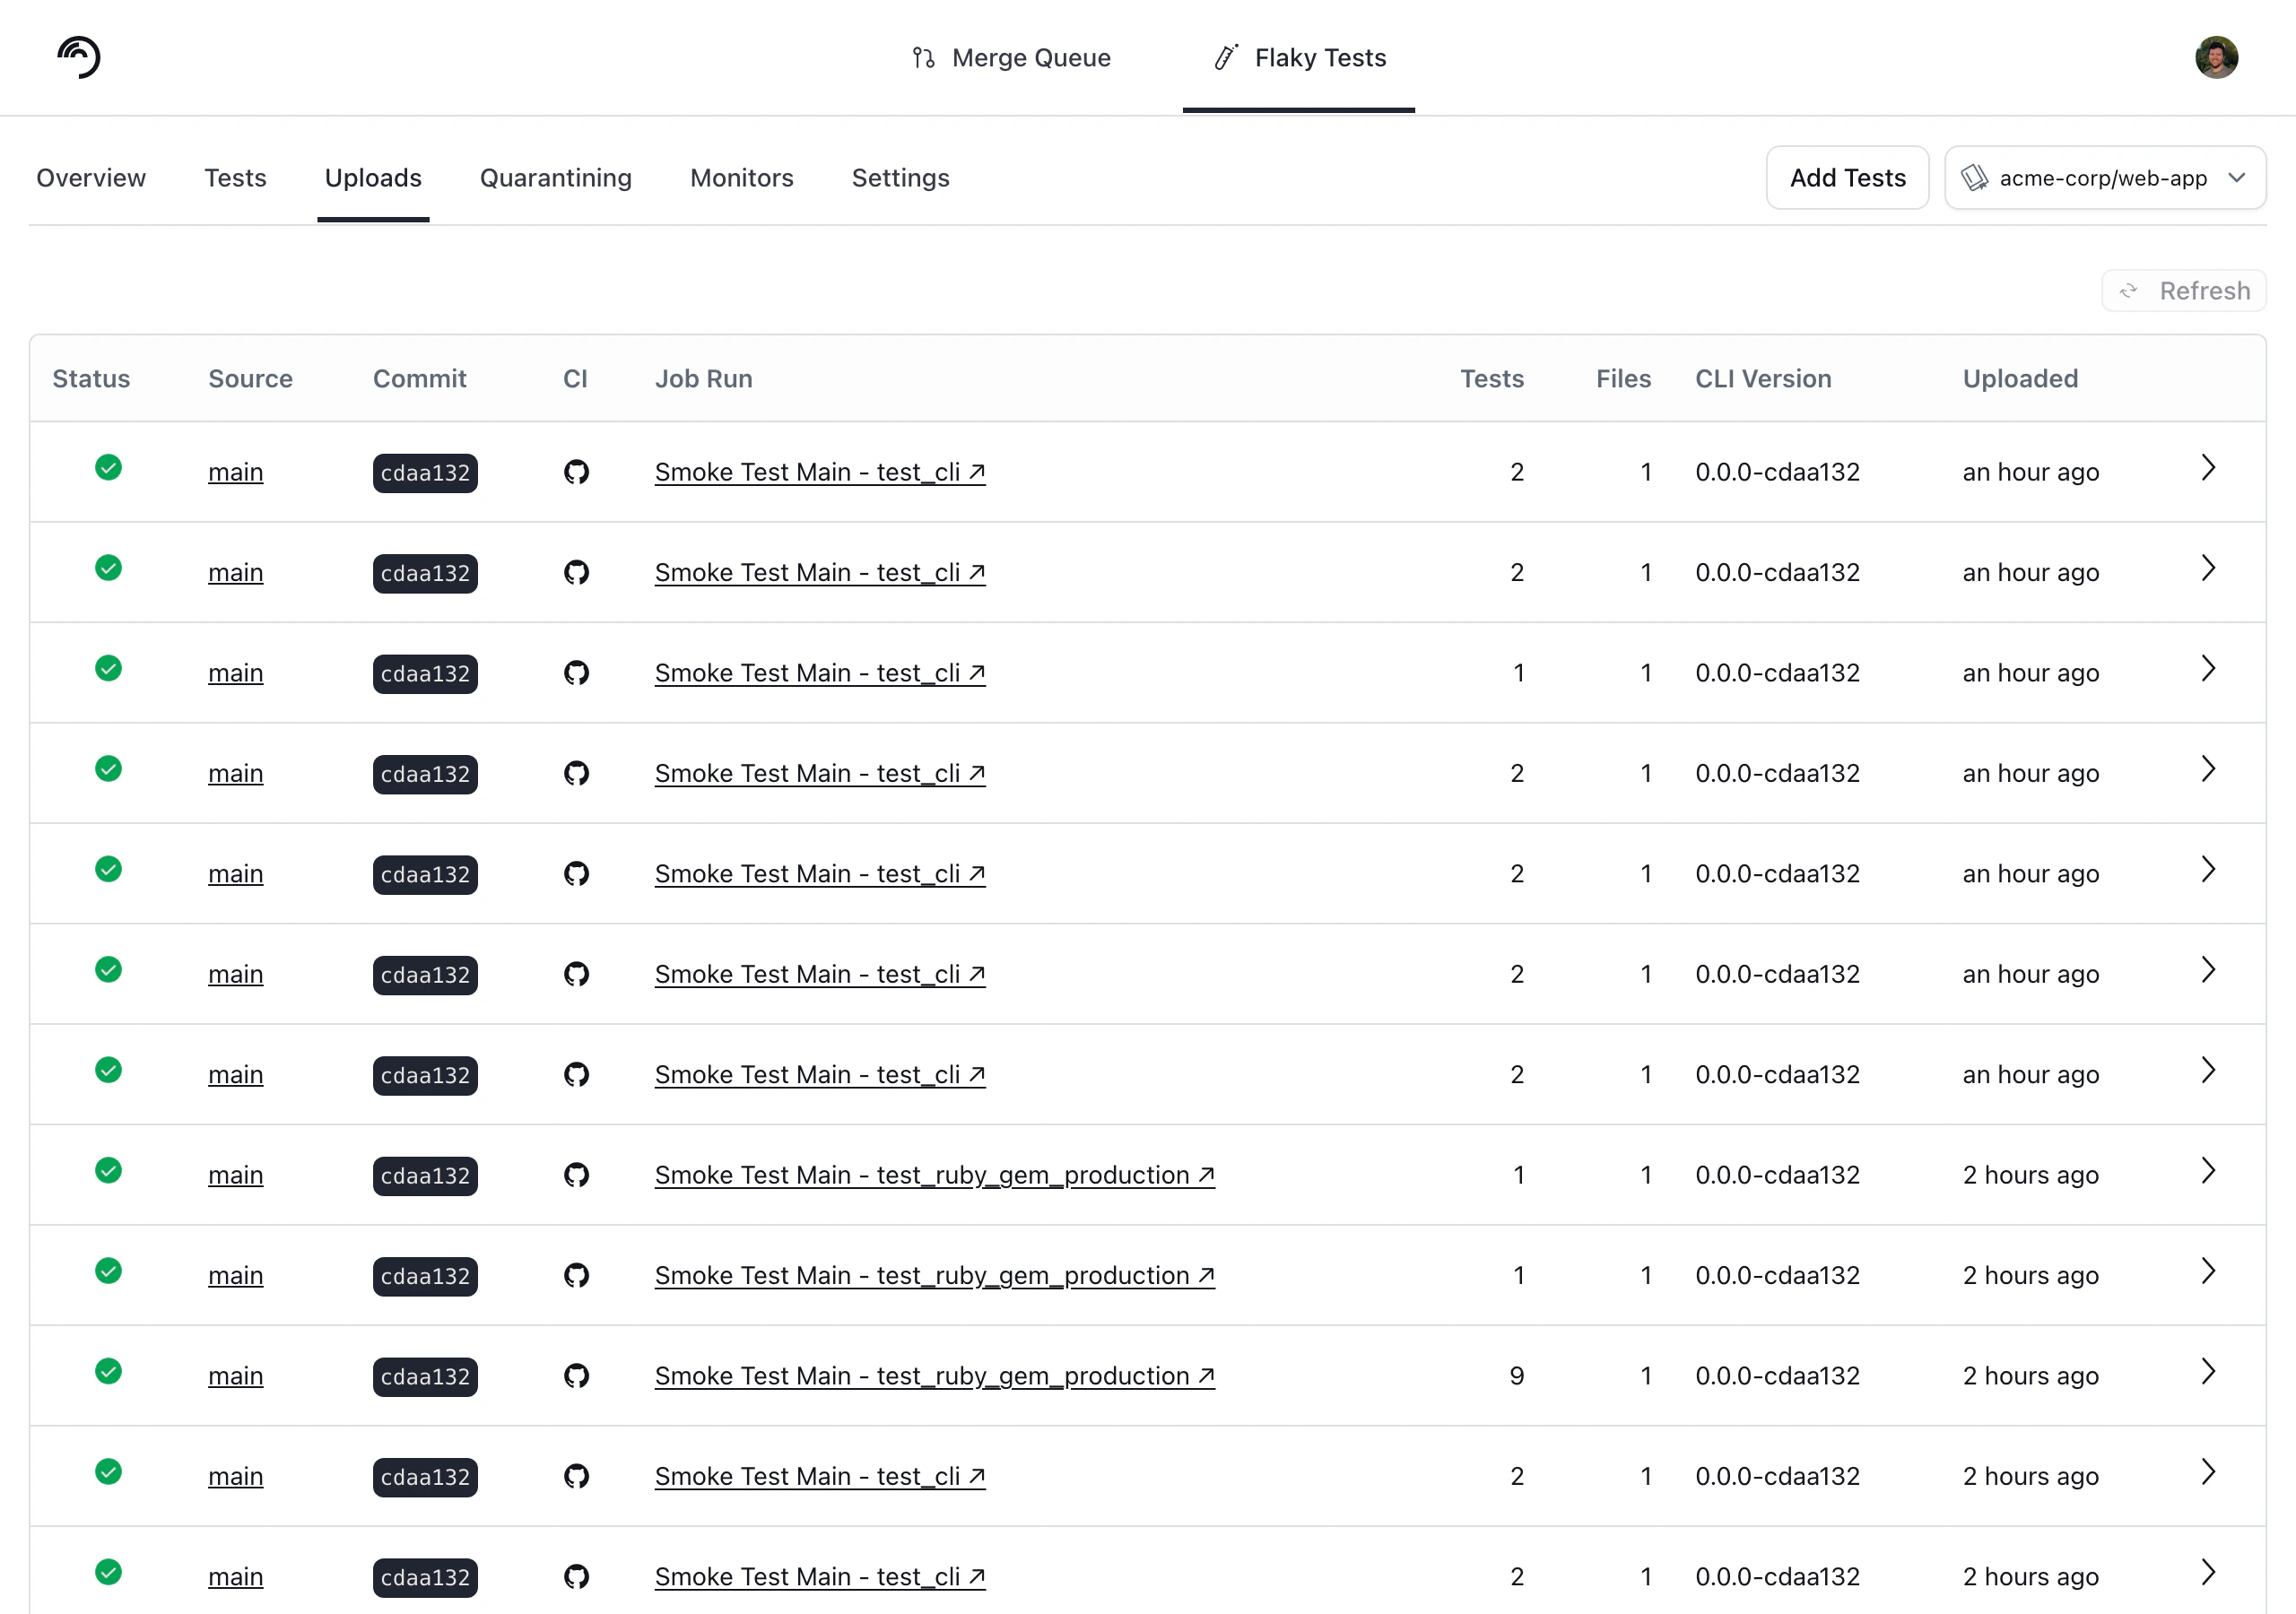
Next Step
Configure your CI to upload test runs to Trunk. Find the guides for your CI framework below:
Azure DevOps Pipelines

BitBucket Pipelines

BuildKite

CircleCI

Drone CI

GitHub Actions

GitLab

Jenkins

Semaphore

TeamCity

Travis CI